Basic Photography Tips | Part 1
Basic Photography Tips | Part 1
Starting your photography journey with these three basic tips will already improve your photography and help make you look like a professional in no time. These will help you save time on tedious editing while keeping your gear clean, show you how to safely change lenses in the field, and take your camera holding techniques from looking basic and beginner to looking like a pro.
TIP #1: CLEAN YOUR LENS BEFORE SHOOTING!
When your lens gets dirty or has collected dust, pickup an inexpensive little product like this air rocket with a micro fiber cloth to clear away lose dirt, dust, and oily spots. Don’t just blow on it because you may be blowing little bits of spit onto the lens which can ruin the protective coating on the glass if left on it. When cleaning the camera’s sensor, it’s always best to have your camera manufacturer do the cleaning or an authorized dealer/service instead of doing it yourself.
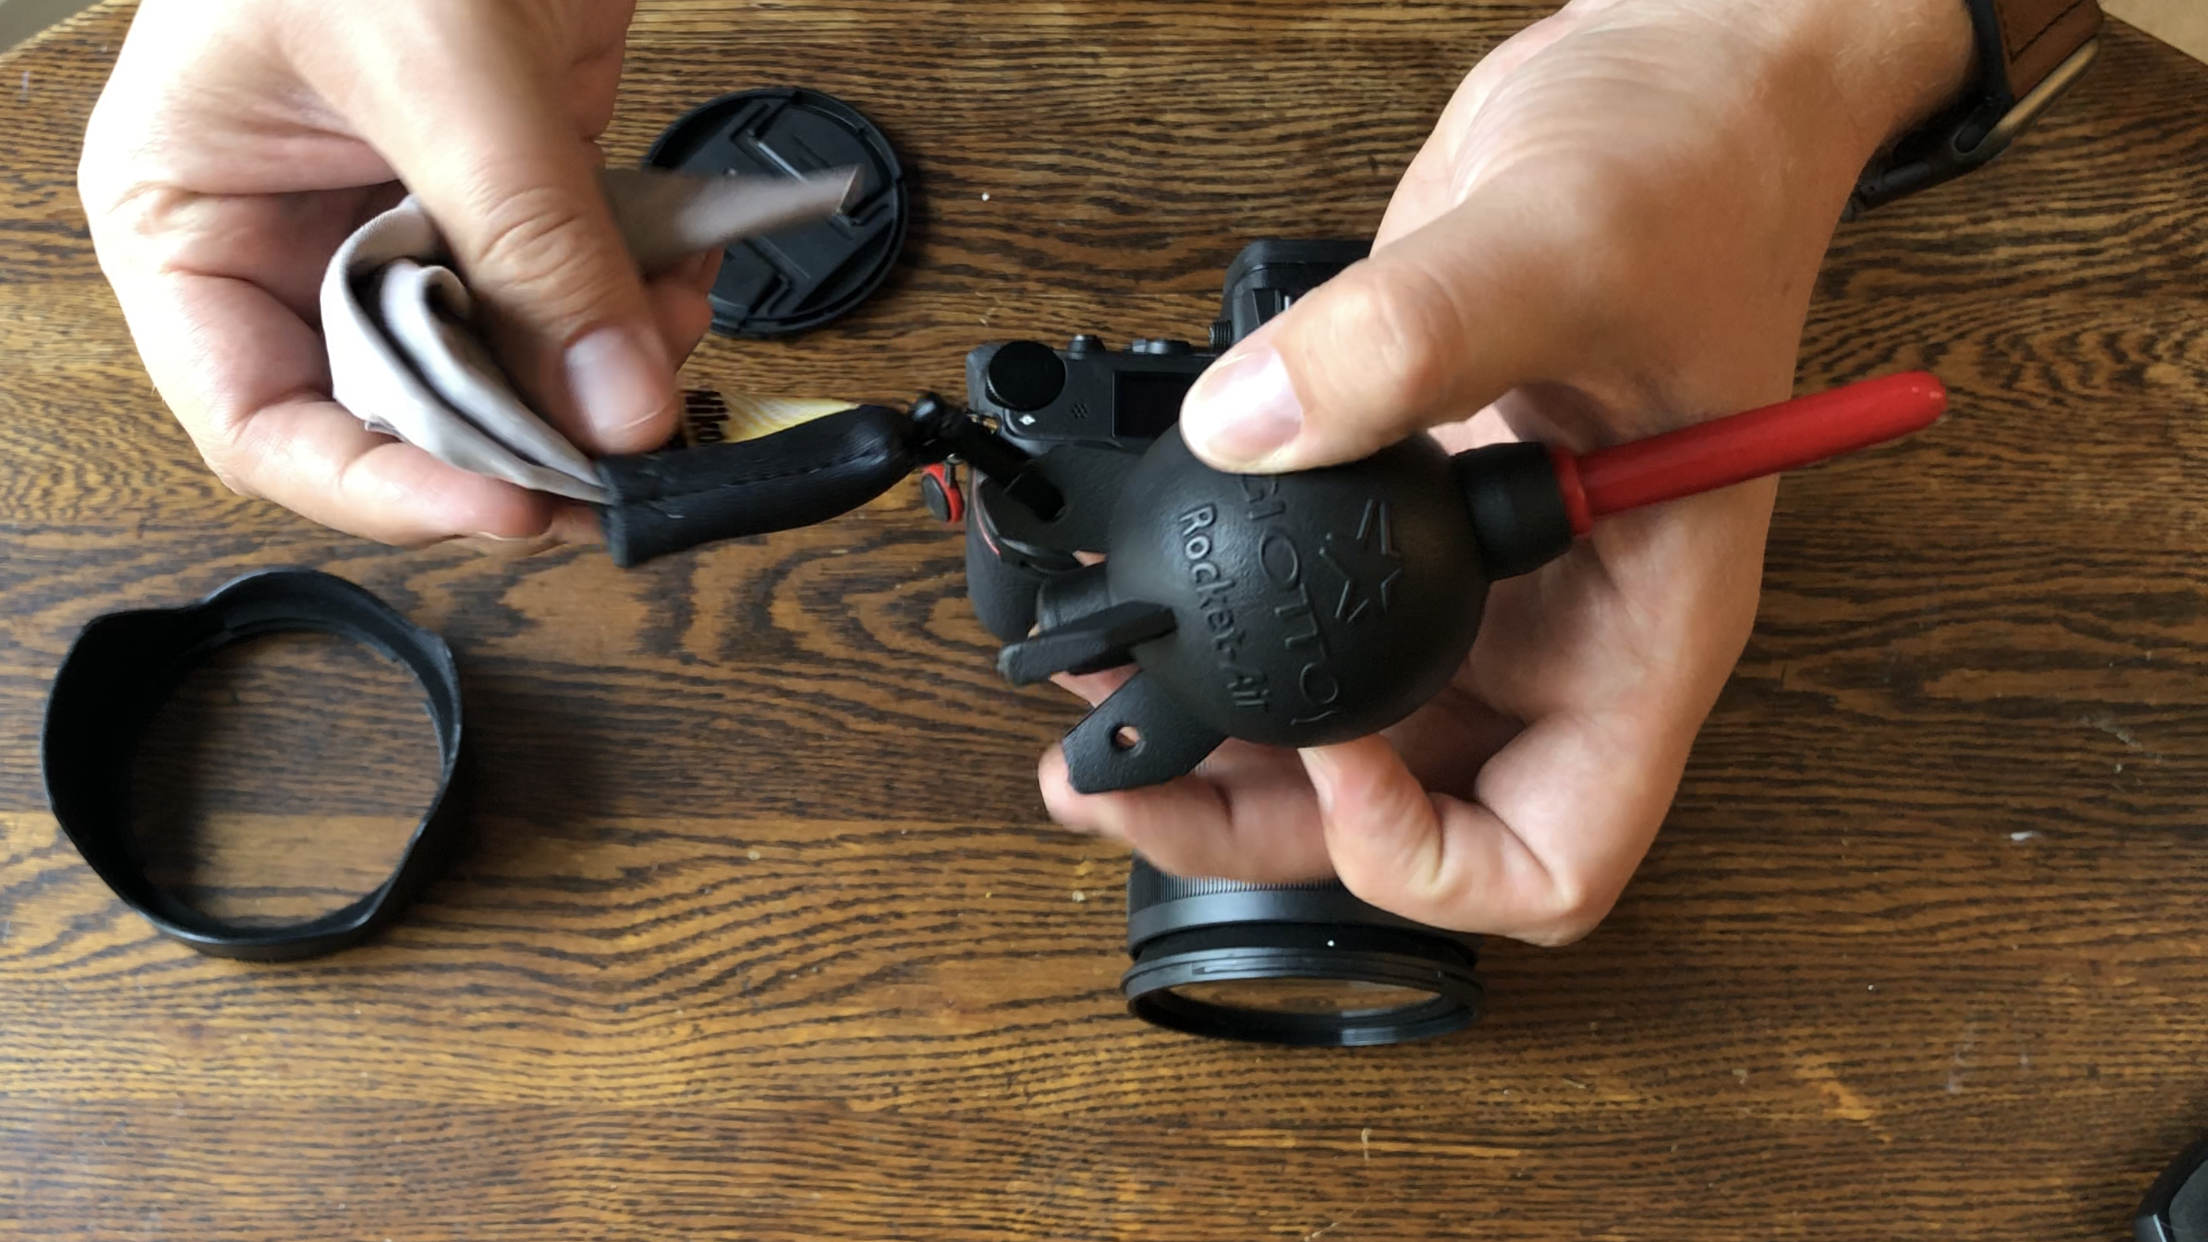
Giottos Rocket Air Blaster
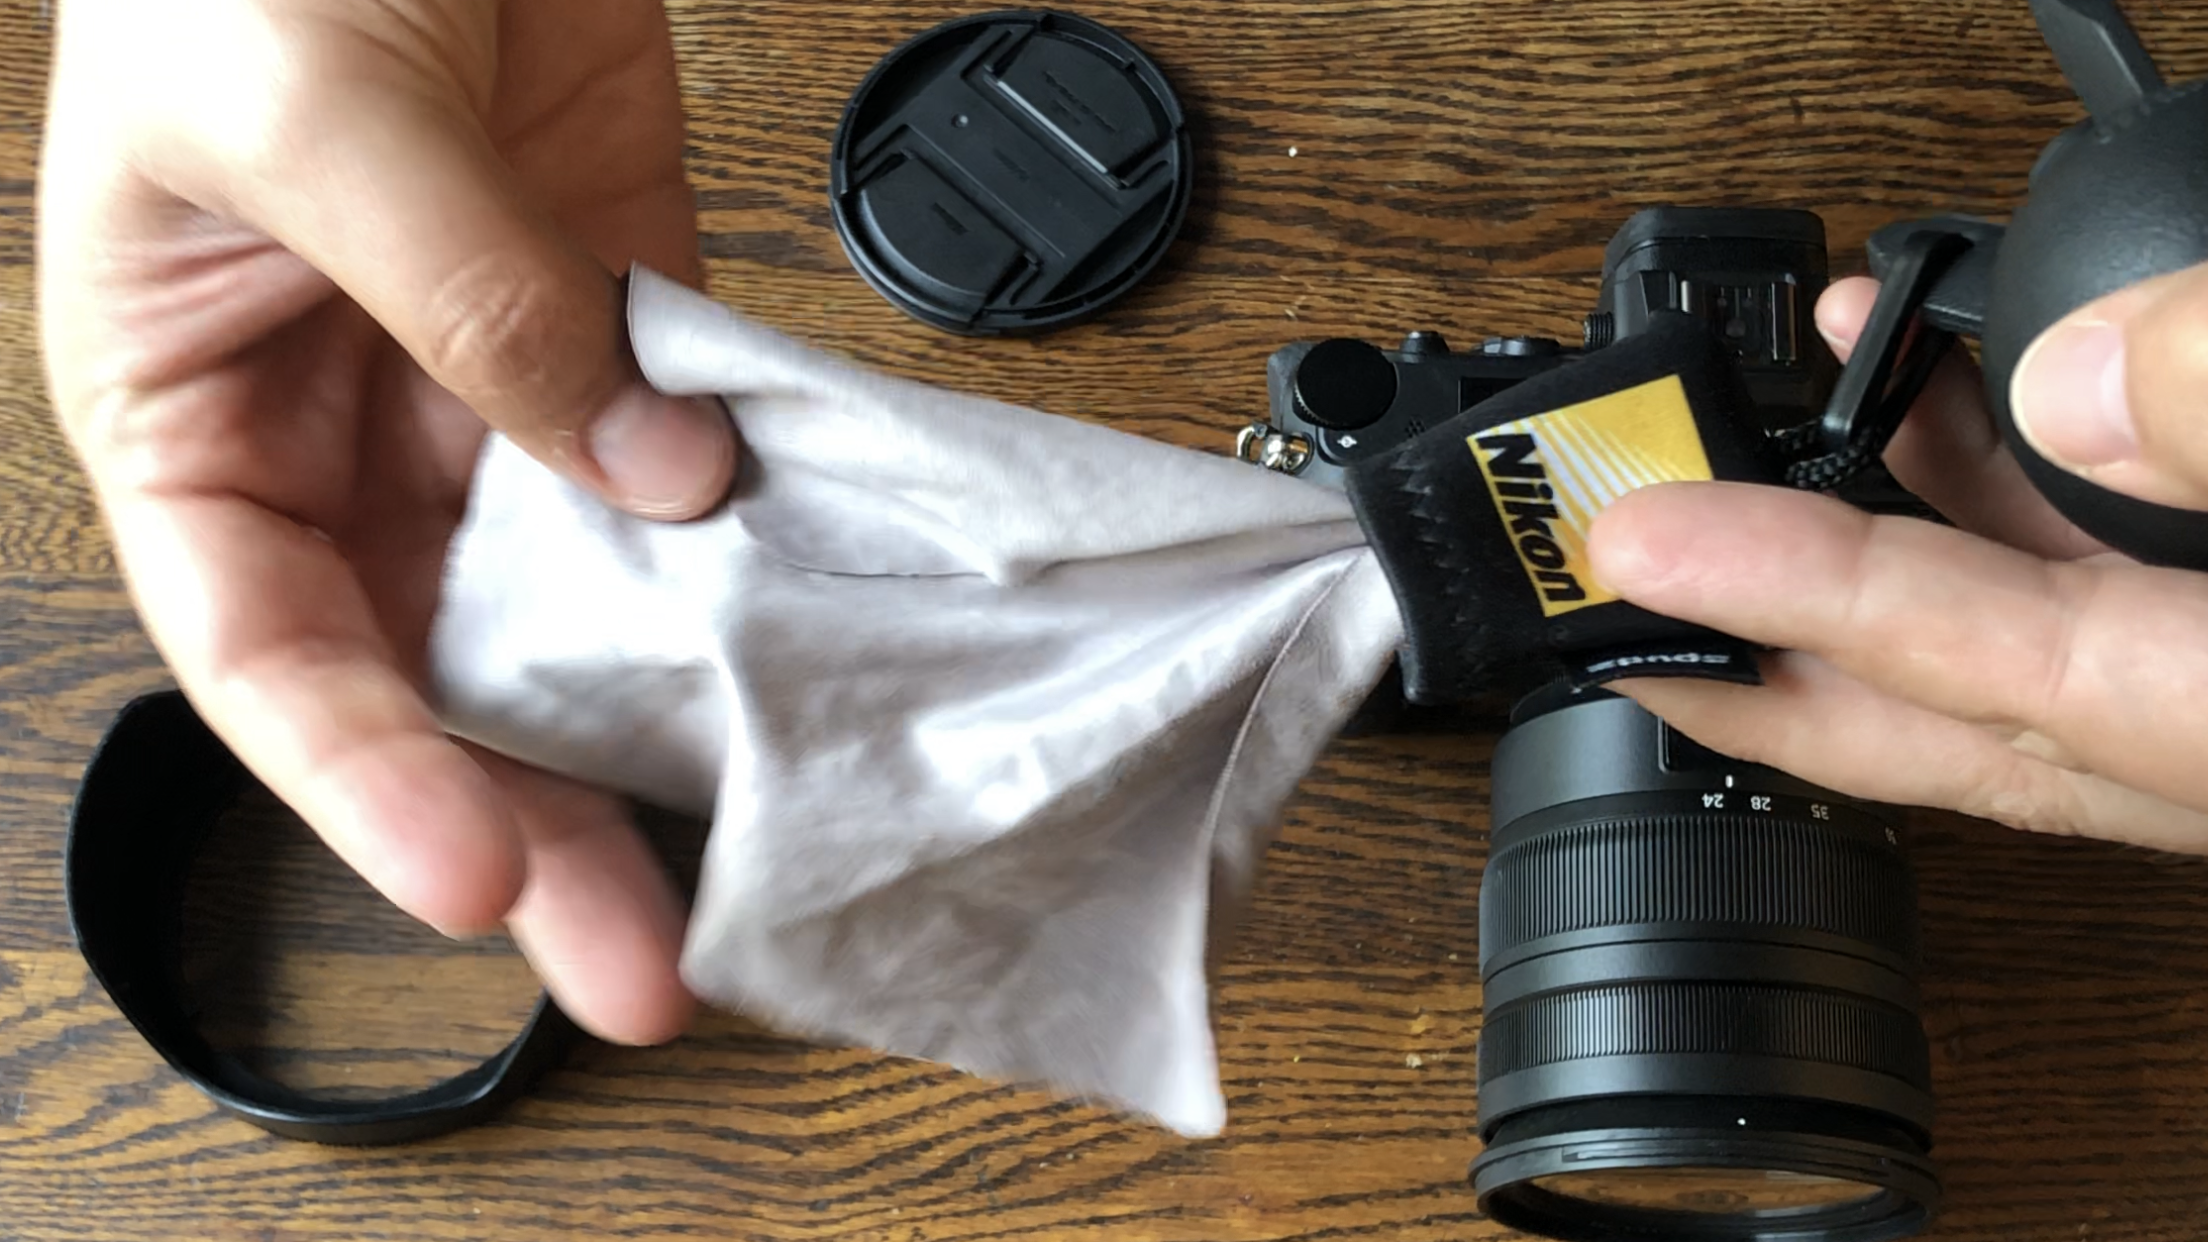
Use a micro-fiber cloth when wiping away oily fingerprints, dirt, and stubborn dust.
TIP #2: KEEP CAMERA FACING DOWN WHEN SWITCHING LENSES!
When changing your lens, always point the camera body face down to help prevent dust, dirt, or water from falling onto the sensor. Then have your new lens’ backcap already taken off and ready to attach to the camera, while putting the same backcap onto the old lens.

Point the camera down with the front lens cap on.
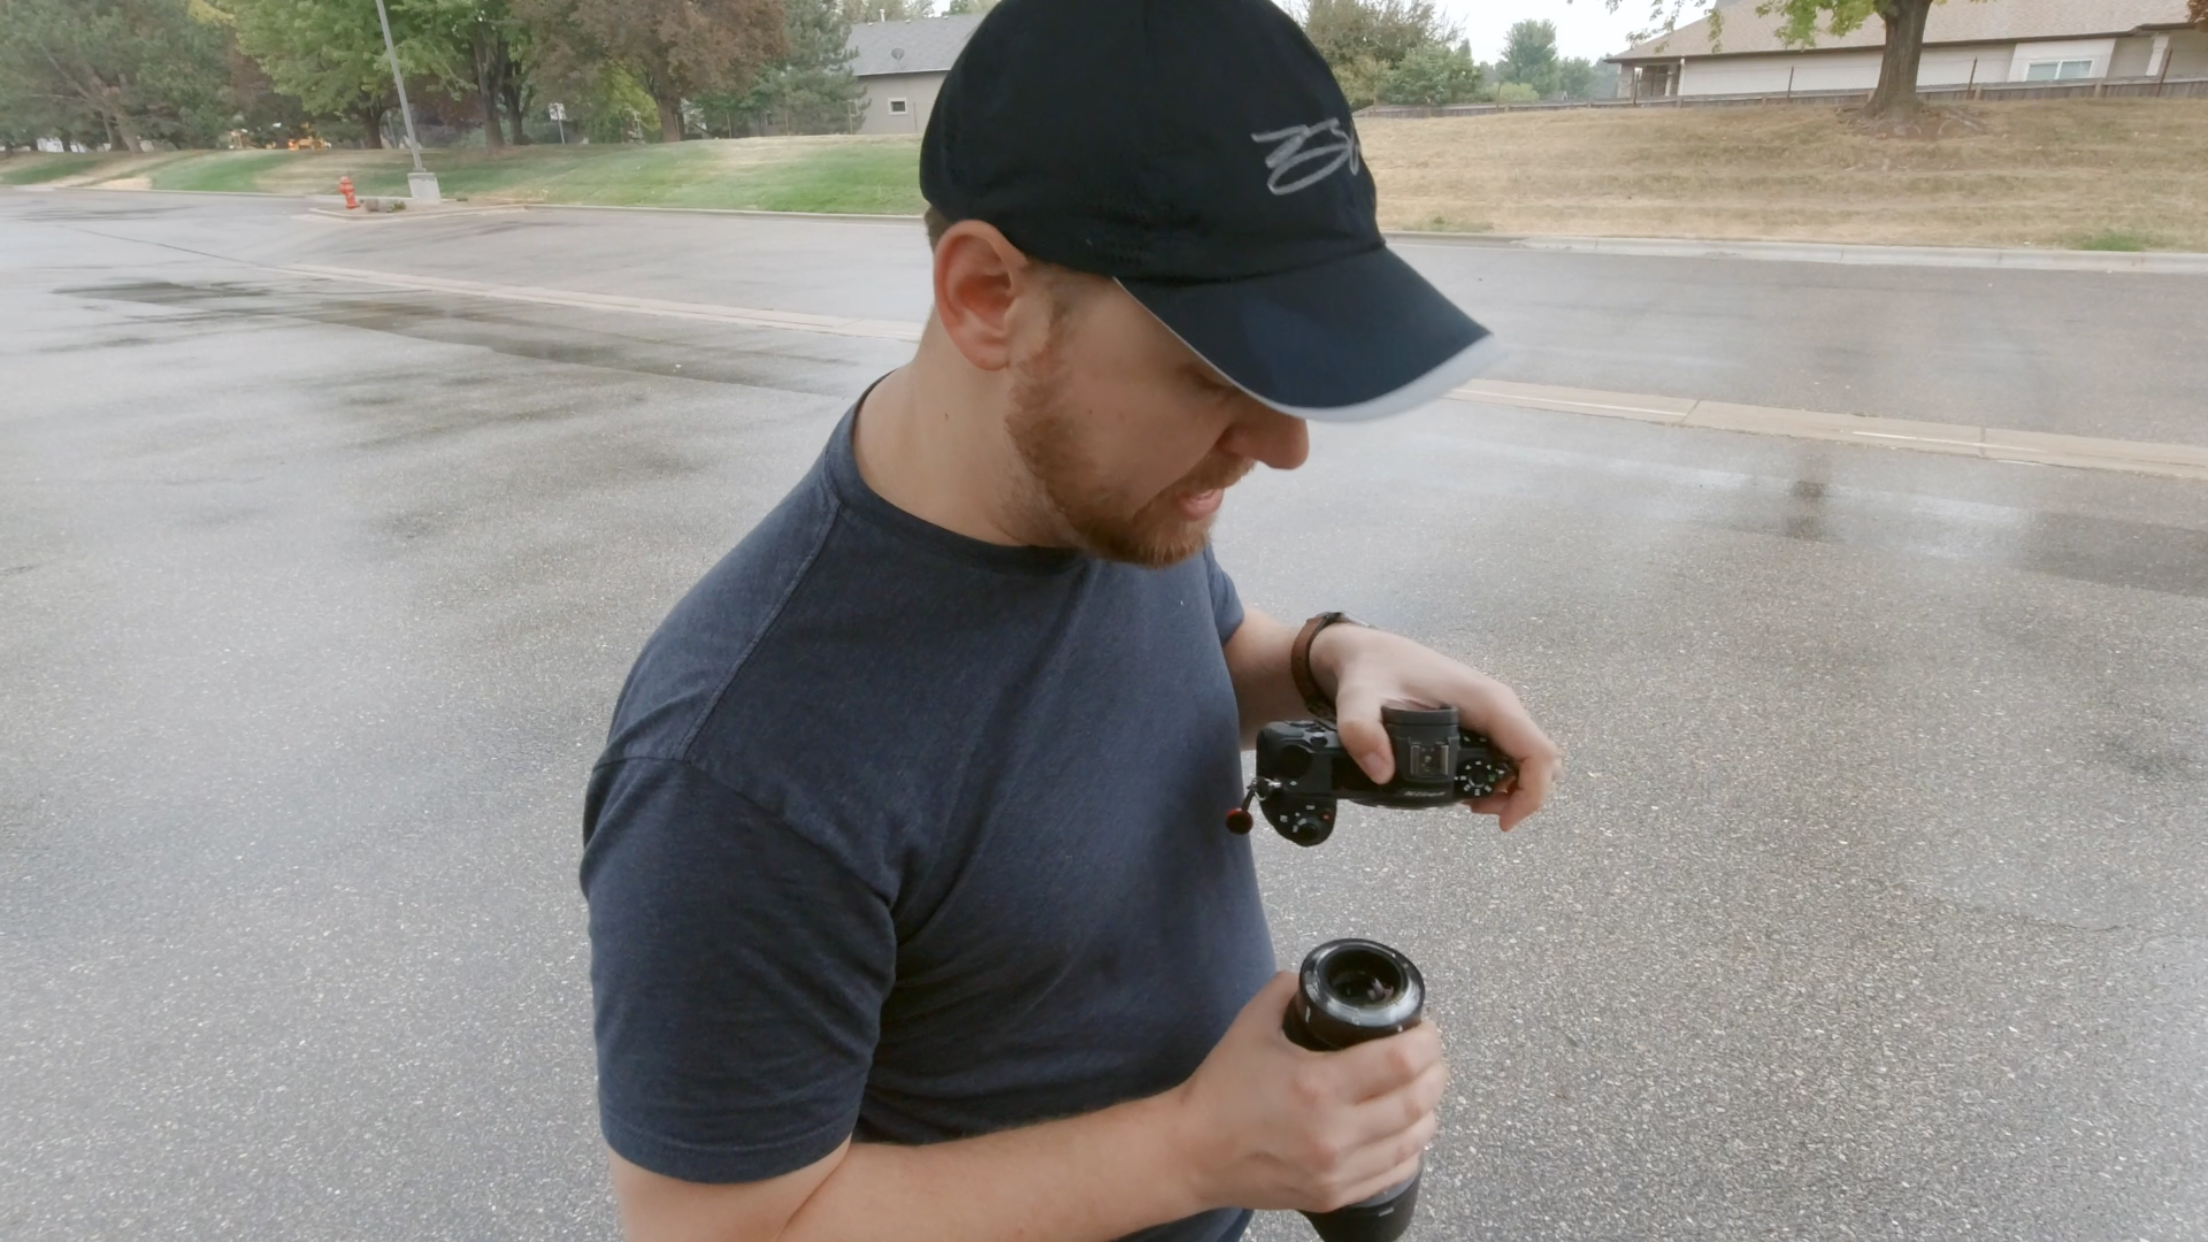
Then remove the lens off the camera body to begin the swap.
Then point the back of the lens down and place it’s rear cap on before swapping out the new lens.
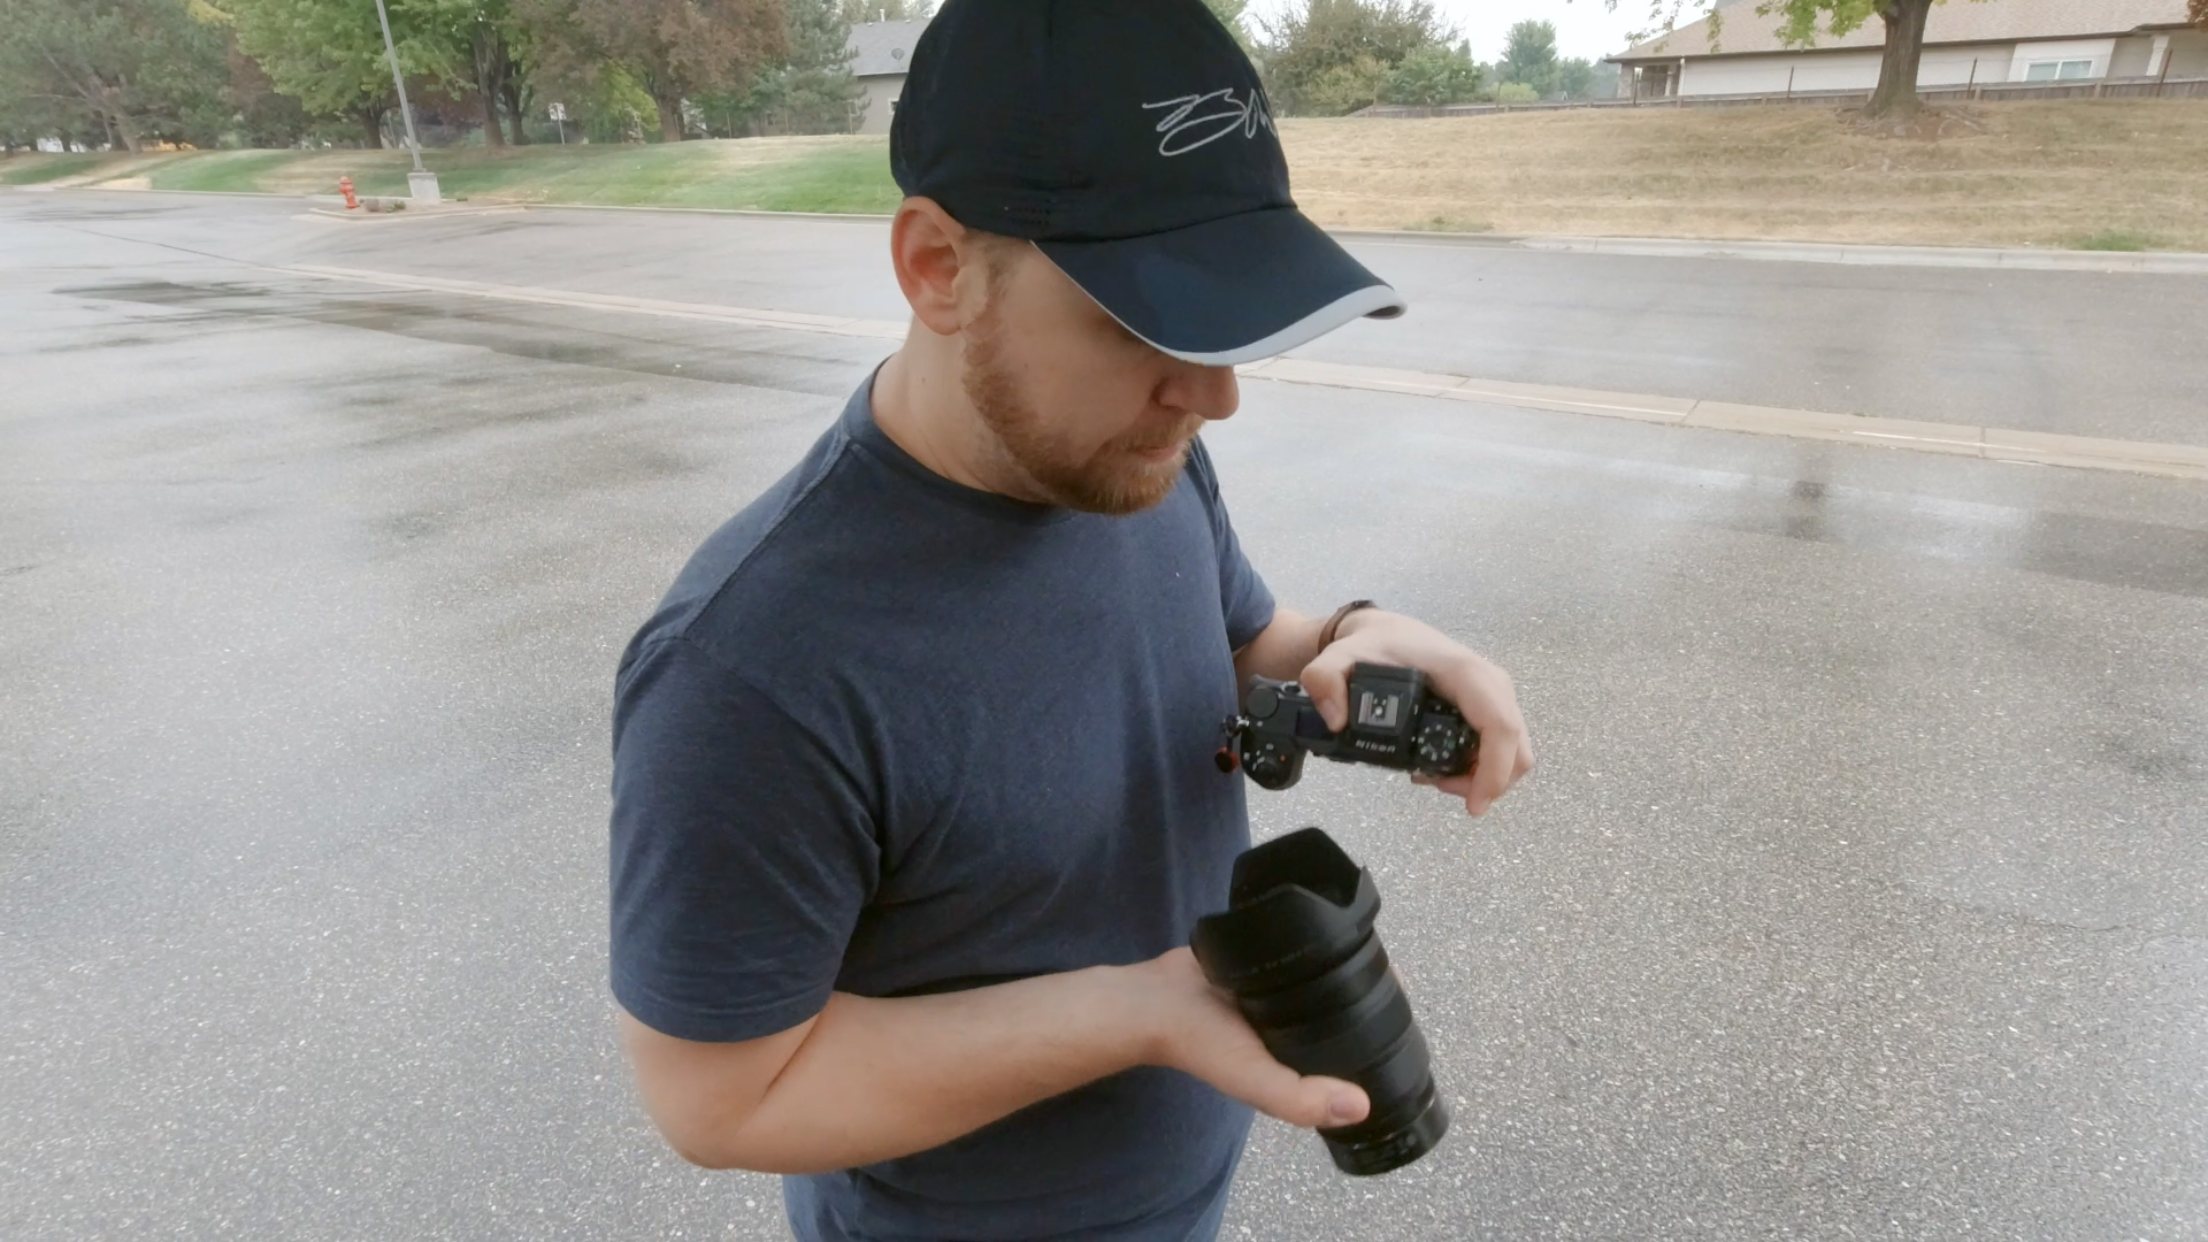
TIP #3: THREE POINTS OF CONTACT!
When holding your camera, it’s best to have three points of contact for greater stability. One point of contact with the hand that holds the camera, the second point of contact is the other hand that rests under the lens (not on top or to the side! You have better stability under the lens because gravity wants to have the lens fall down), and your third point of contact is the eye against the camera. Also have your elbows pushed closer together tucked into your body acting like a tripod. When putting all of these together you maximize your stability greatly and increase your chance for sharper handheld images with less camera shake which causes softer/blurry looking photos.

The three points of contact when holding your camera. Look less basic and more professional.
That’s it! Those are a few of my quick tips to help improve your photography. Take them with you and make it a habit to remember to do these things before and during a shoot. Then before you know it you will become and look more like a professional photographer.
Don’t forget to join the new Facebook community I started to learn even more.