
Basic Photography Tips | Part 2
In this post I go over three more basic photography tips to remember before you leave your home.
Basic Photography Tips | Part 2
As working professionals we are constantly trying to remember and keep track of a million things for our upcoming photo shoots. So before you head out that door… WAIT!! Take a couple minutes to make sure you have these specific things ready to go before you do.
This list below continues from our previous blog post:
Follow me here:
Join the Facebook Group: Photography Basics for Beginners & Beyond on my website.
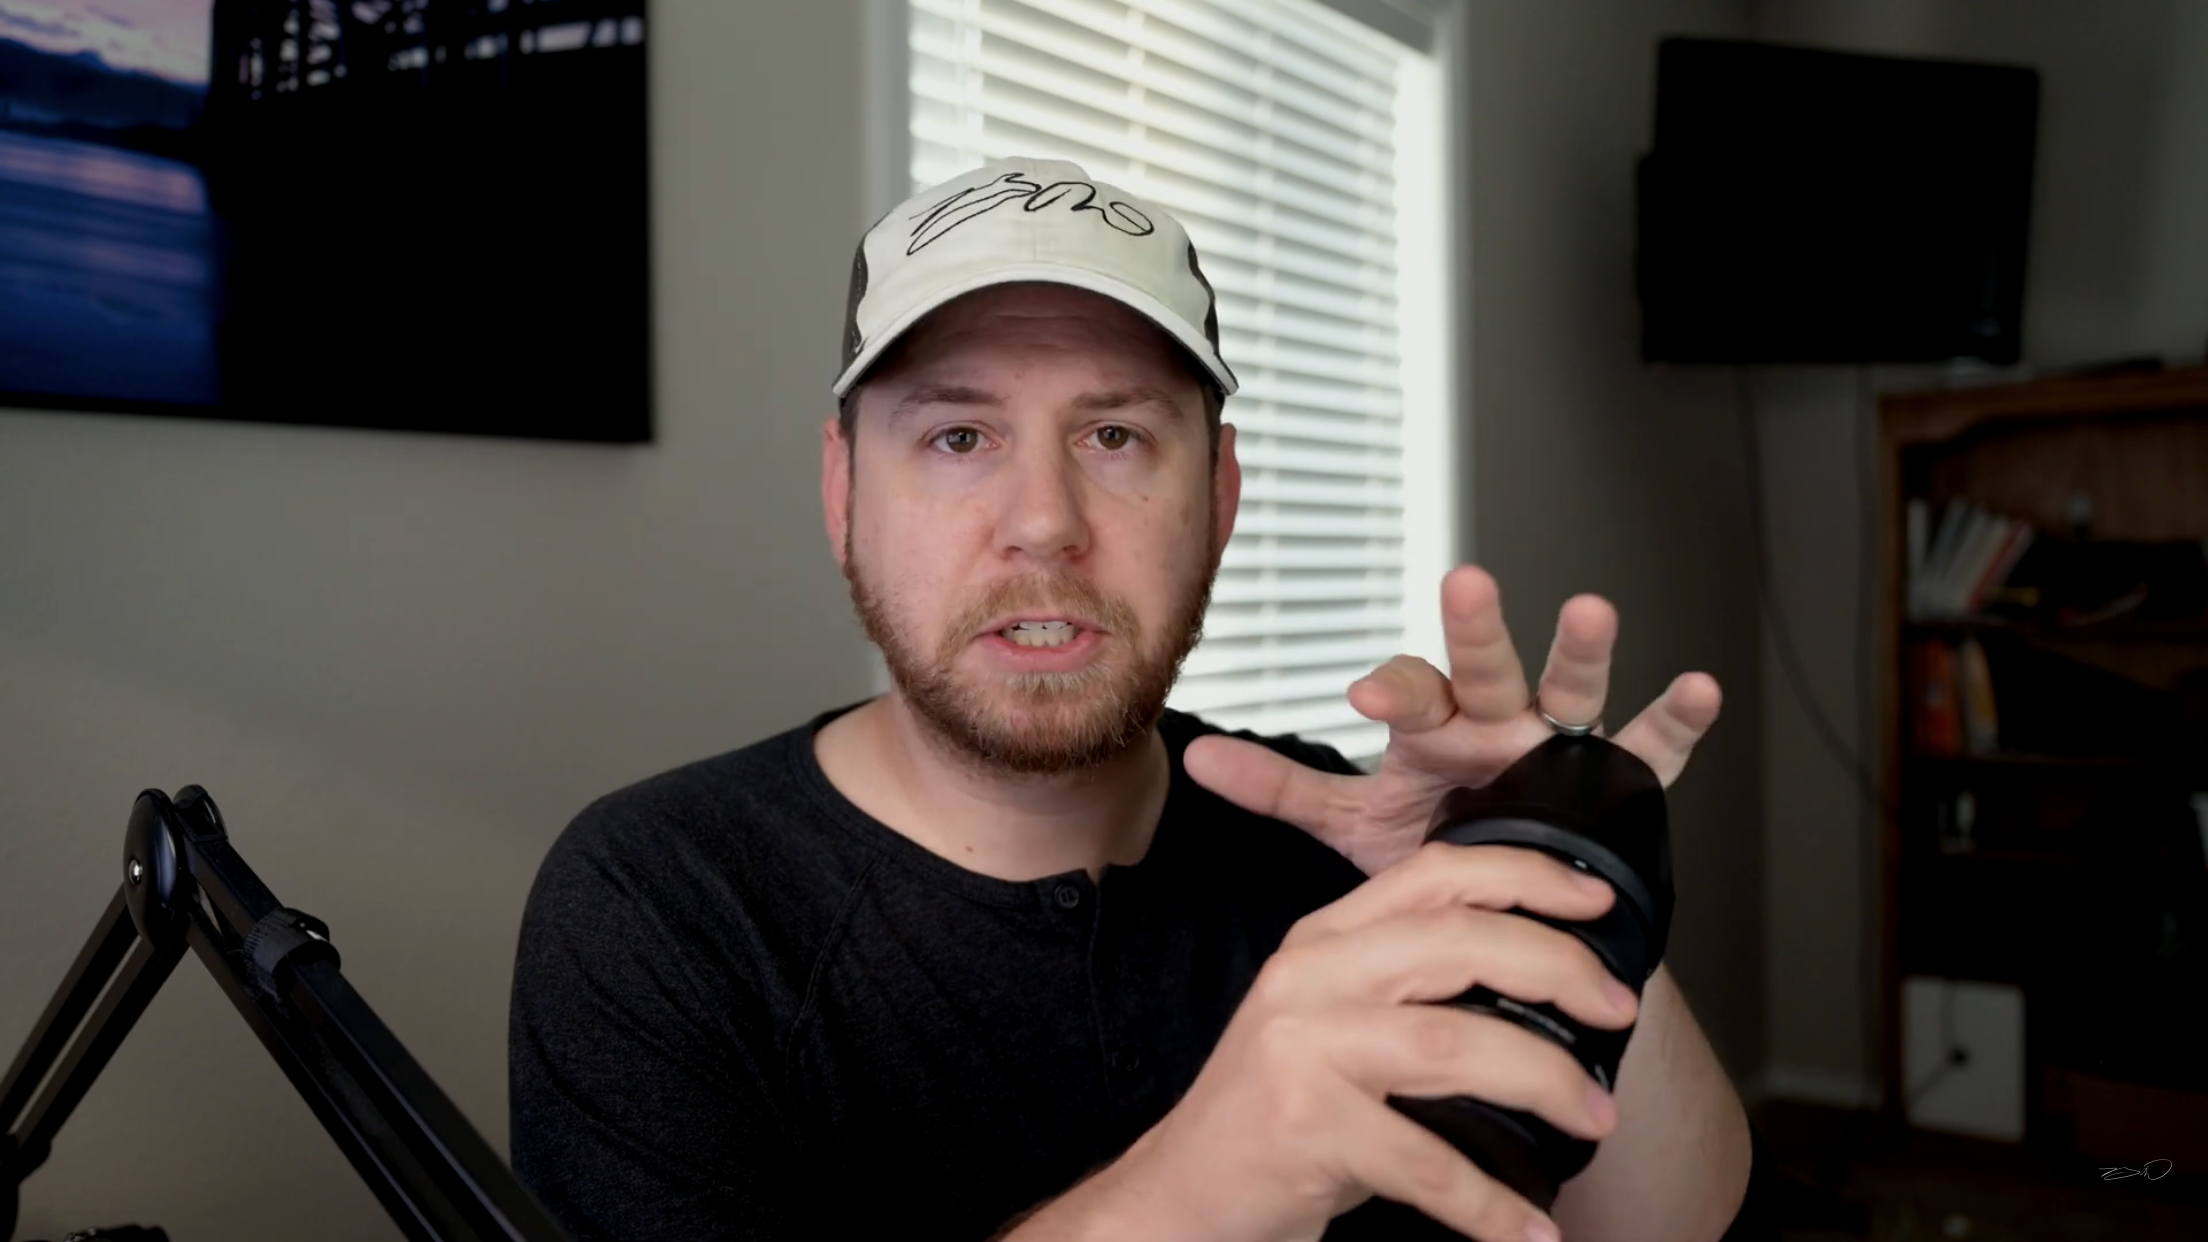
Tip #4: Use A Lens HooD

When shooting regardless if it’s day or night, inside or outside, always use a lens’ lens hood. It will reduce stray light from creating distracting flares from showing up in your images along with light haze.

Notice the lens flare showing up in this image. You can see the very noticeable green circles showing up in the image.
The lens hood can even protect the lens from coming into contact with the ground, walls, or other things. This added layer of protection is very important in keeping that front glass element safe from dents, scratches, and cracks.

Lens hoods come in all shapes and sizes. They are unique to their lens’s design and focal length.
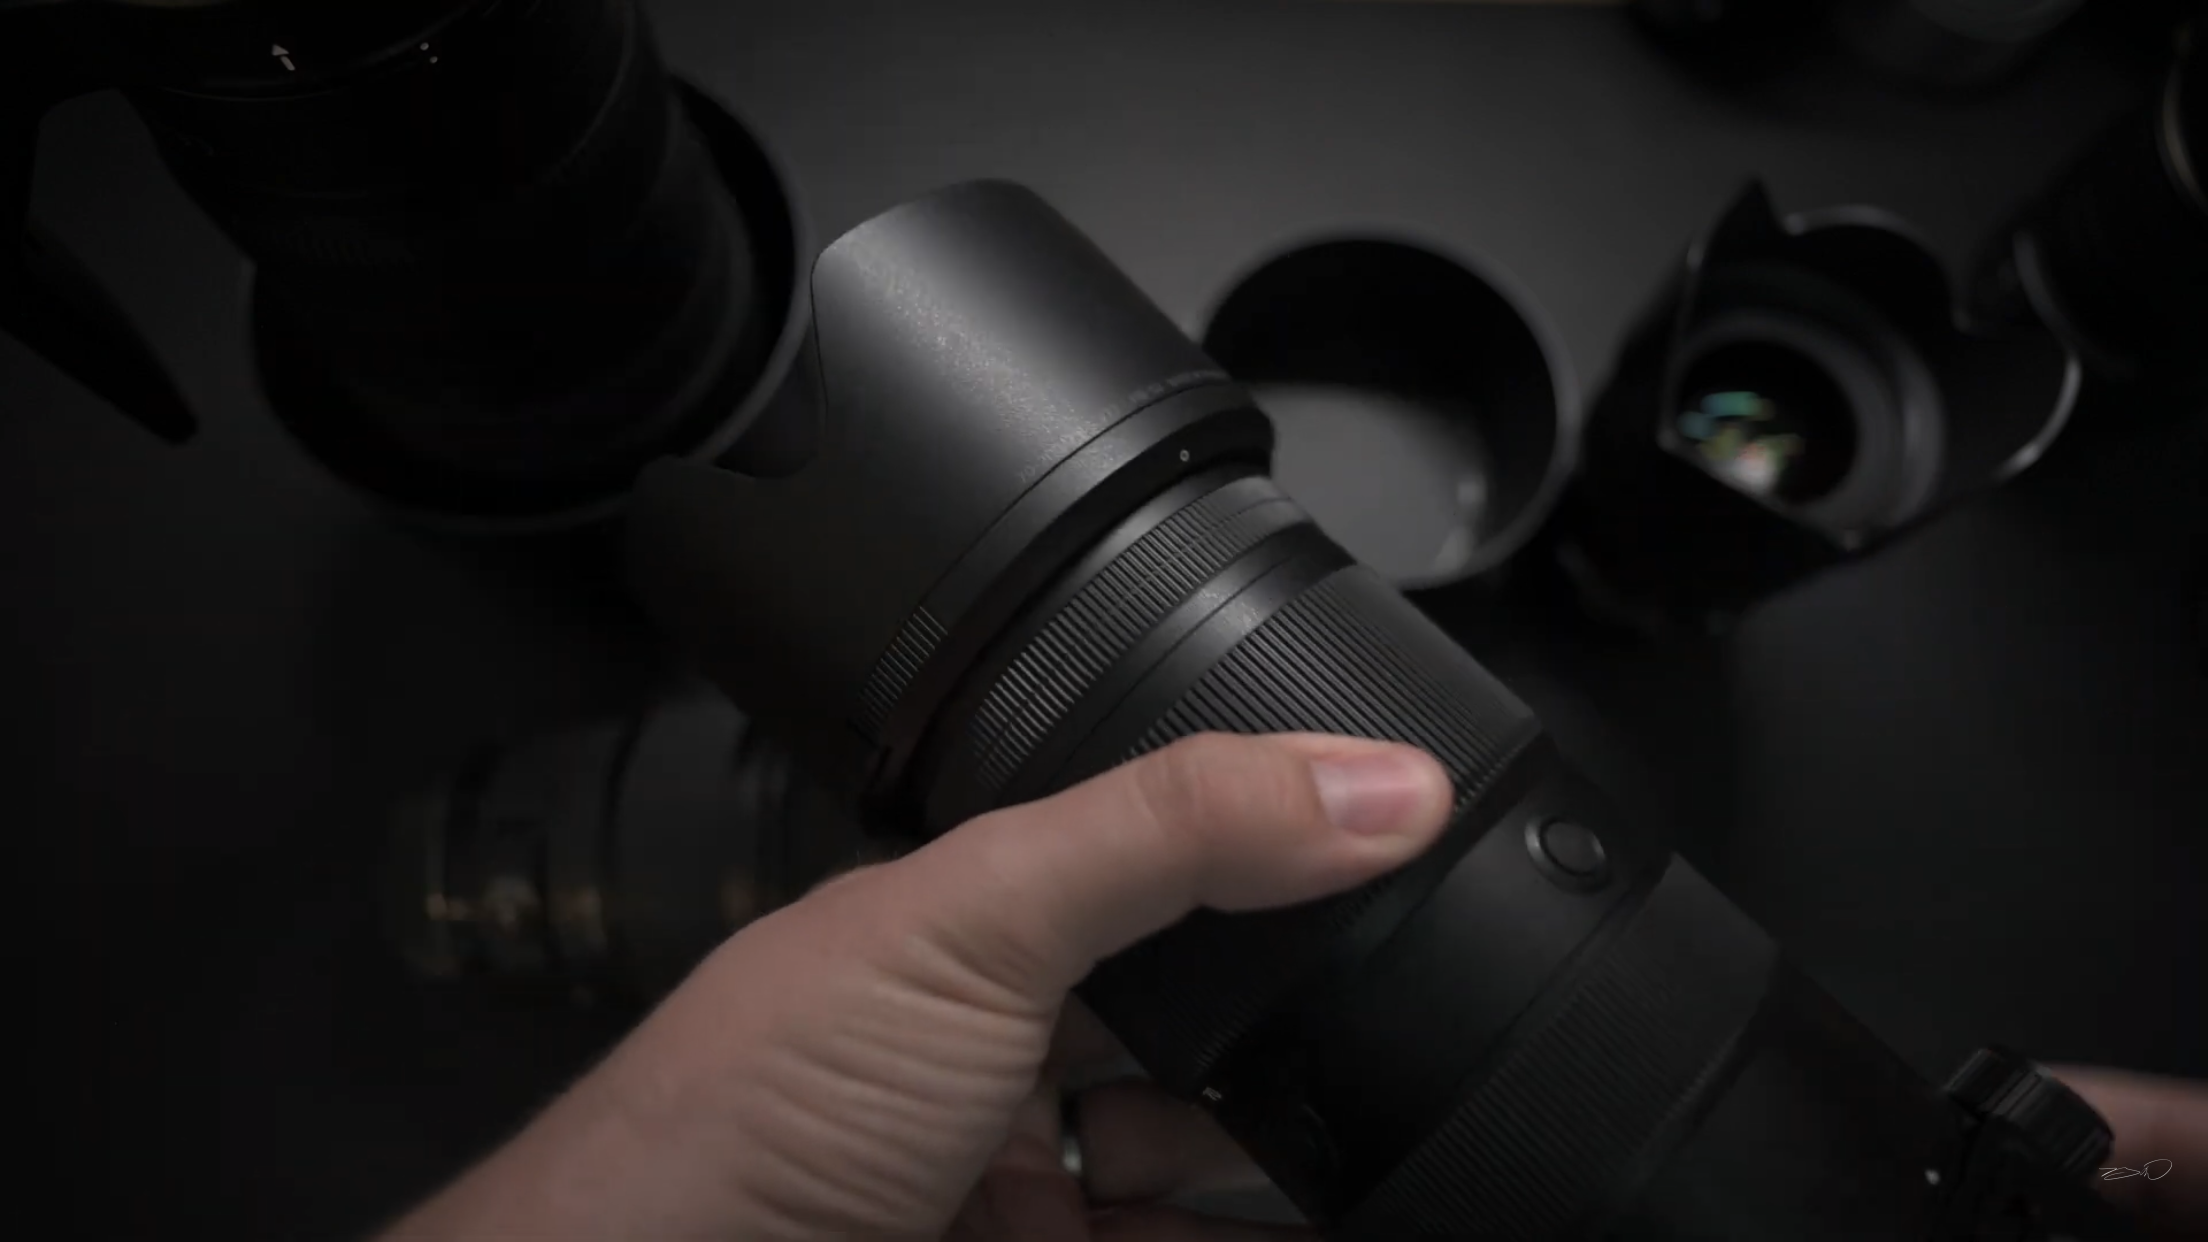
The lens hood on properly when shooting
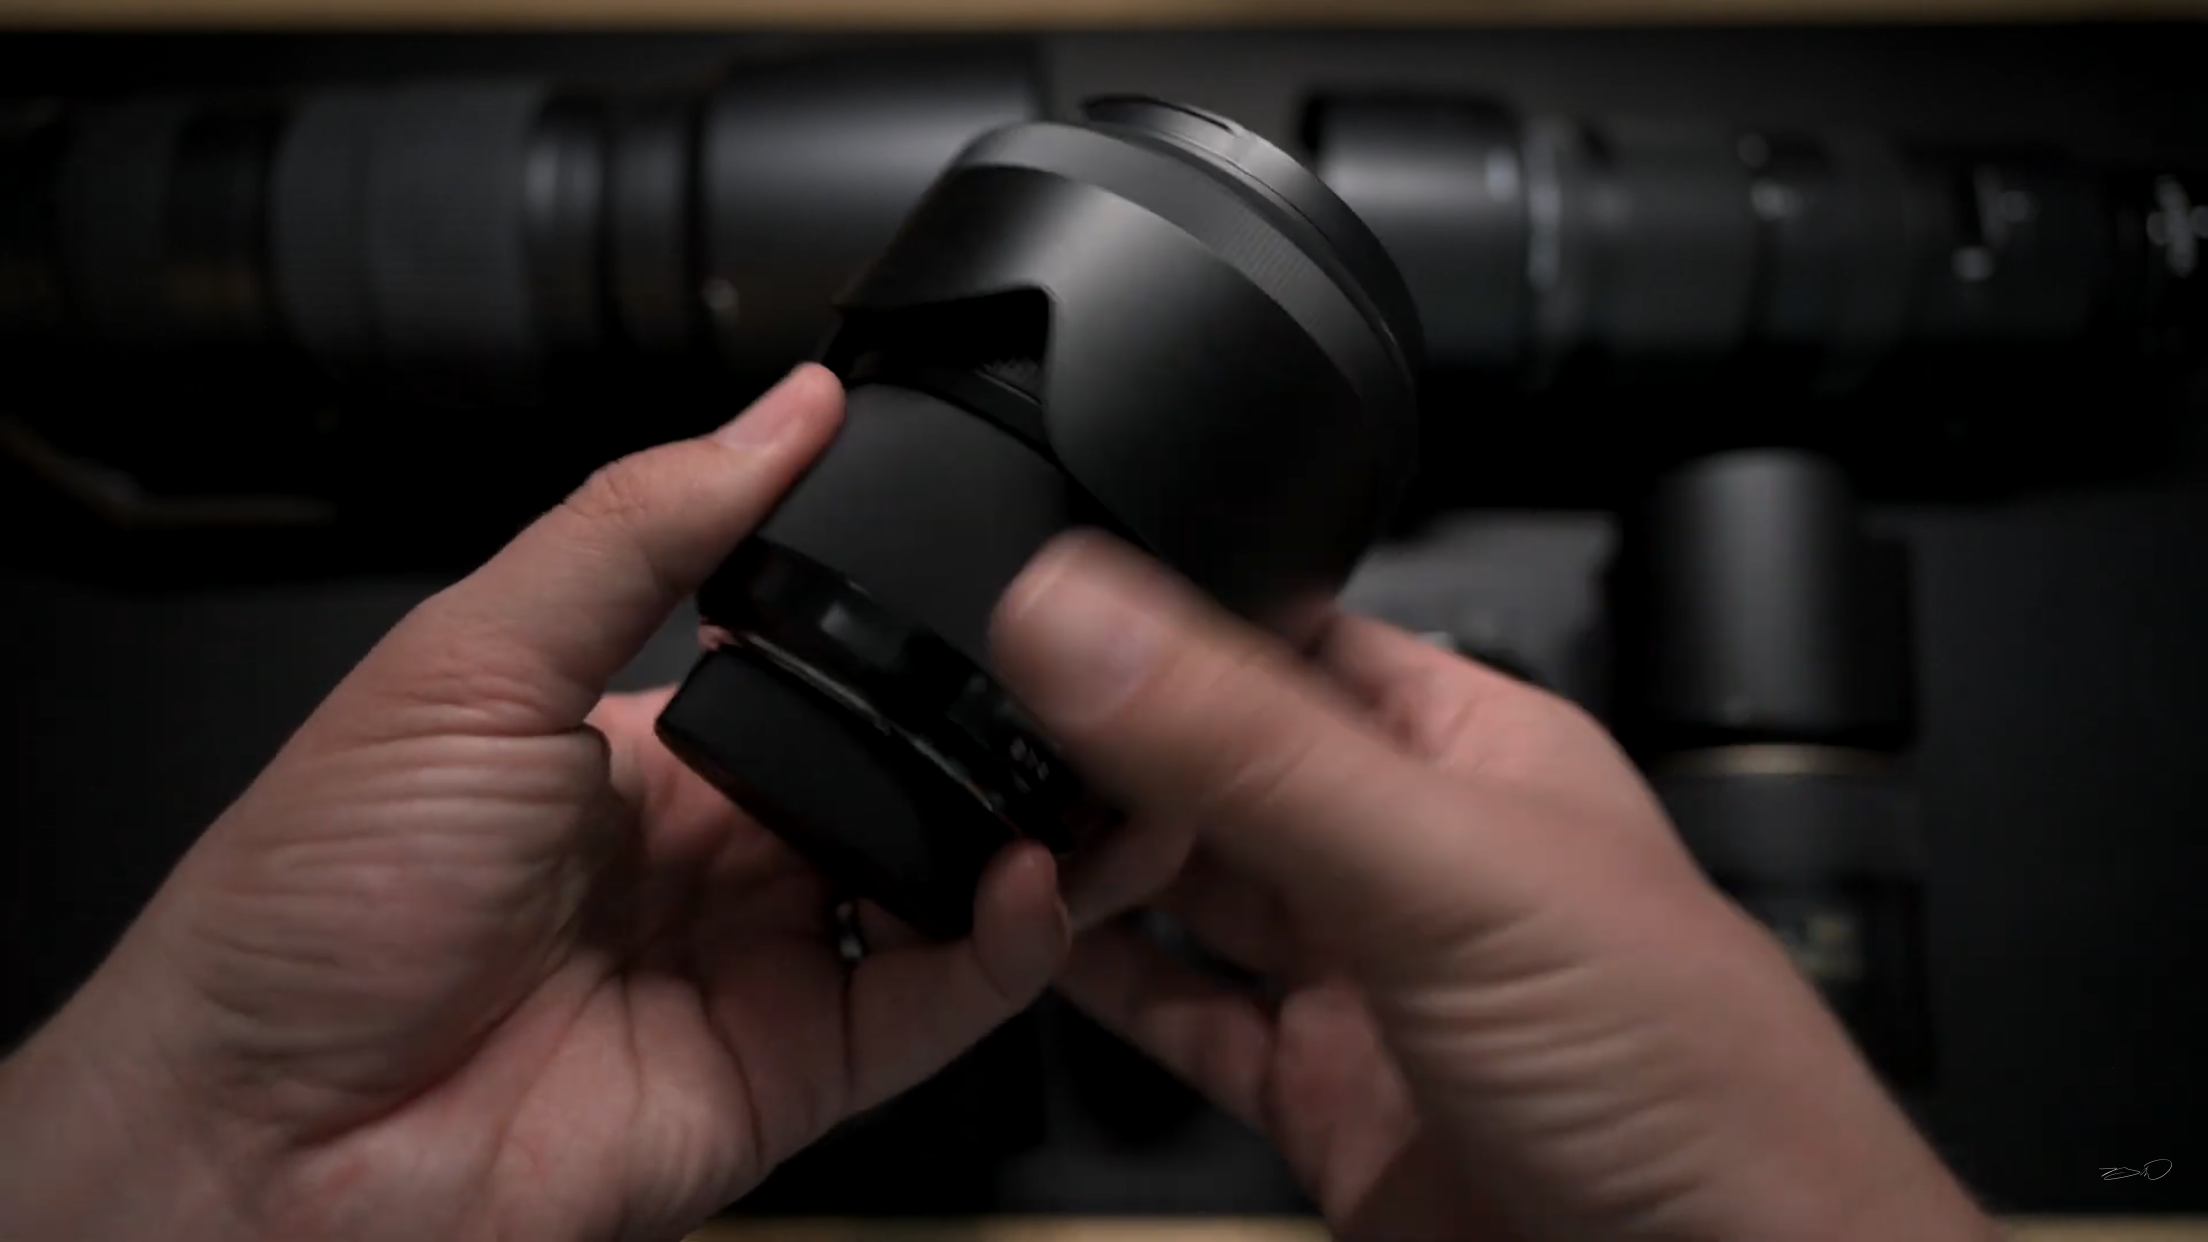
The lens hood when not shooting and kept stored away with the lens.
Screw the lens hood on so it protrudes out from the front element of the lens and when you are done using it flip it around and screw it on backwards so the hood is over the lens. This allows for the lens hood to be attached to the lens without adding more space the lens already takes up.
Tip #5: Don't Forget Memory Cards
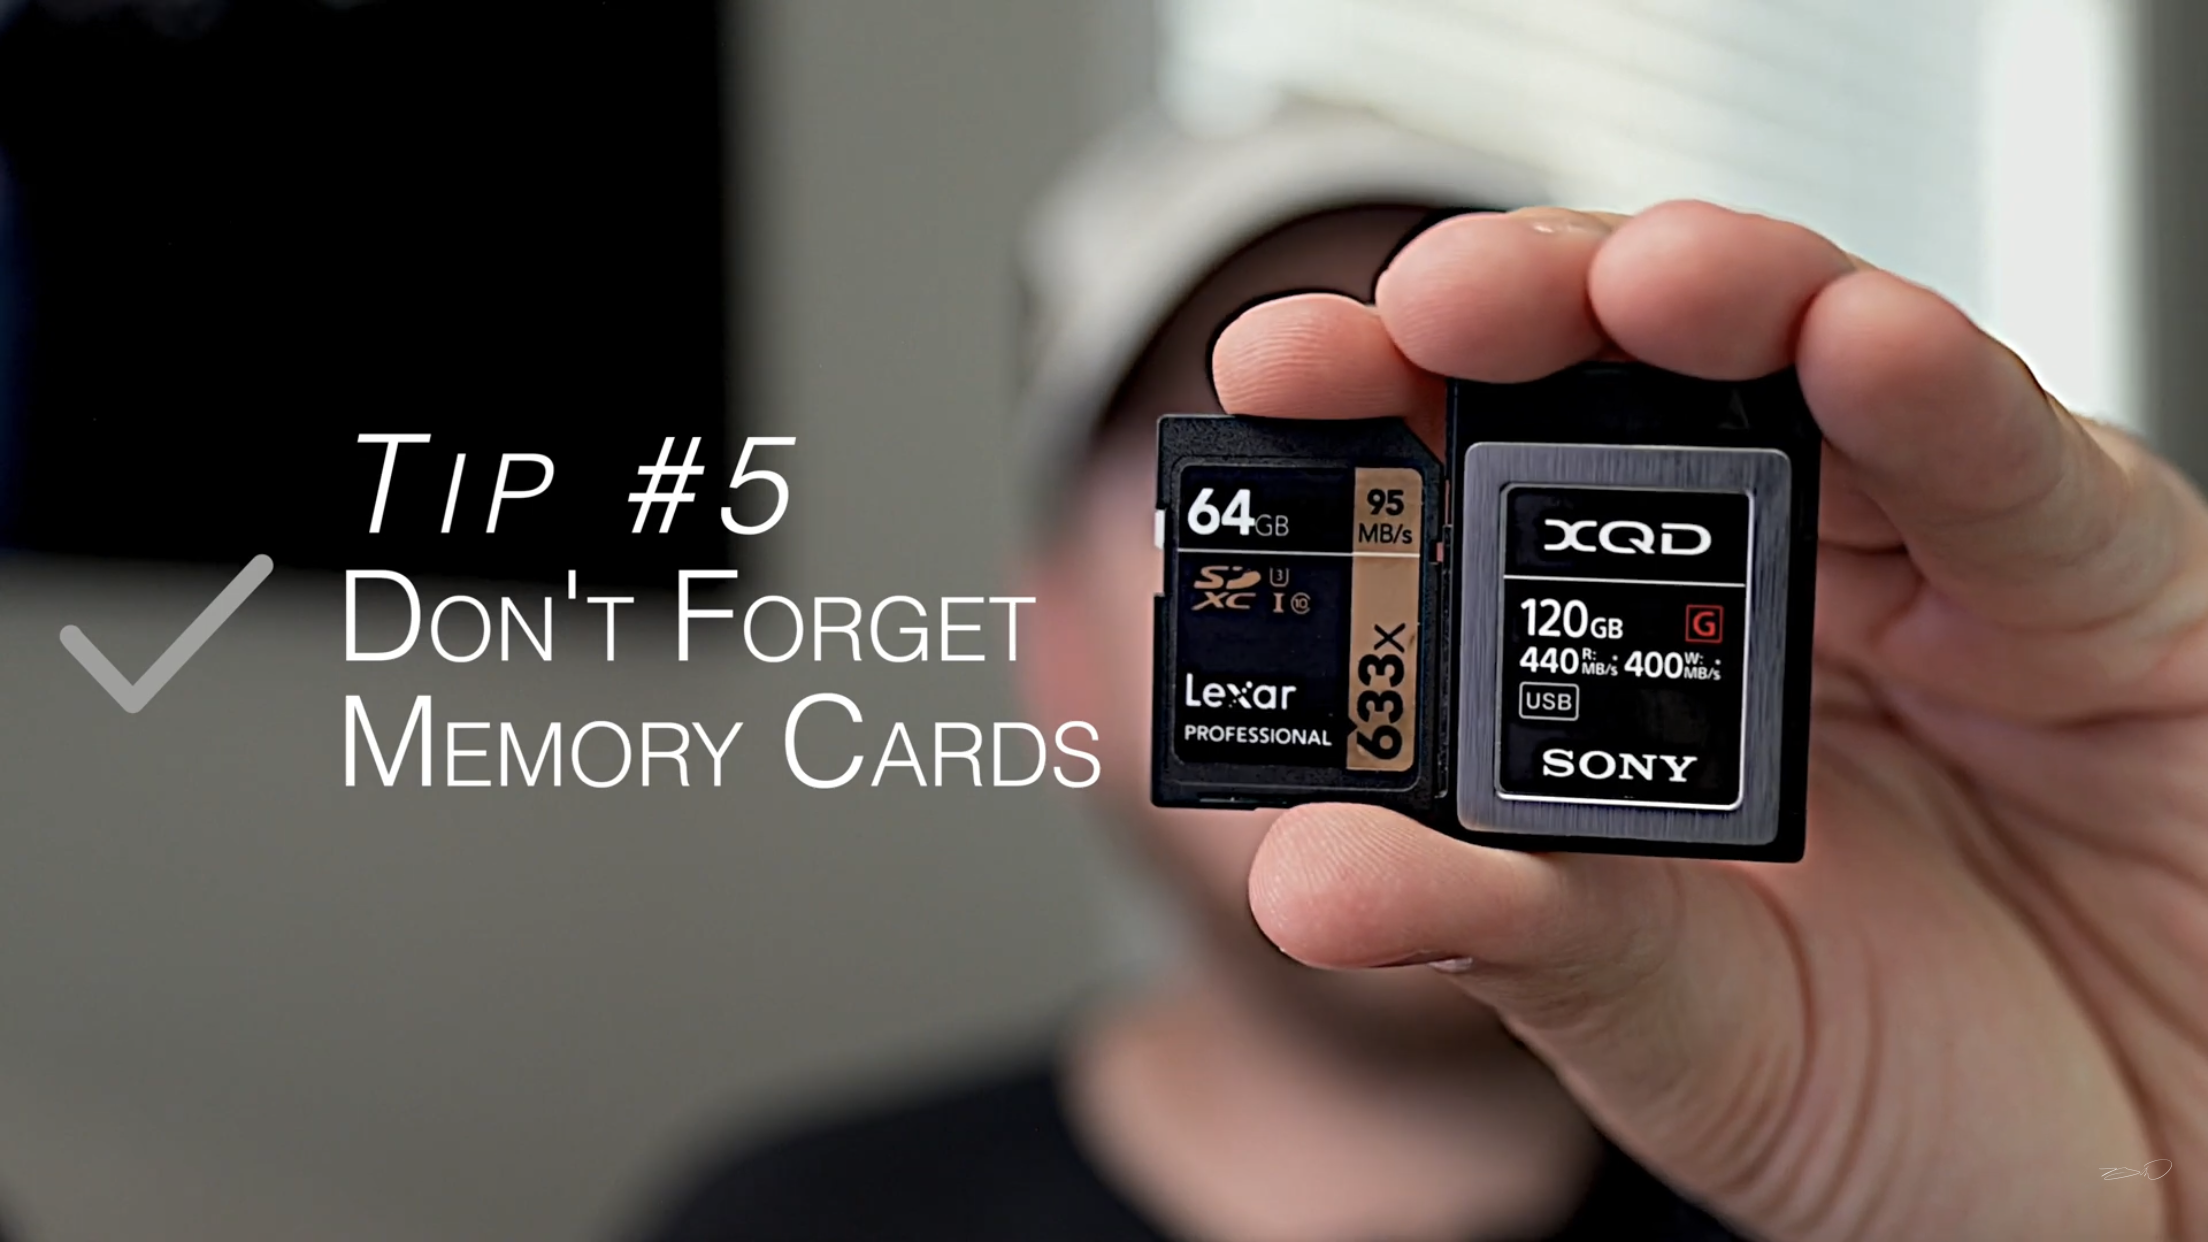
DON’T FORGET TO PUT IN YOUR MEMORY CARD!
I have seen many posts of photographers heading out to shoot and forget to bring their memory card/s and then have to go out and buy one in the middle of the event/shoot making the client’s suffer for something so simple as putting the memory card back into your camera at home. Also have spare batteries charged and spare memory cards emptied and ready in case of any technical difficulties during a shoot or in general when you are out in the field. Be prepared and have a backup plan!

To avoid looking unprofessional in front of your clients, be sure to have backups in bag.

When you don’t have your memory card in your camera.
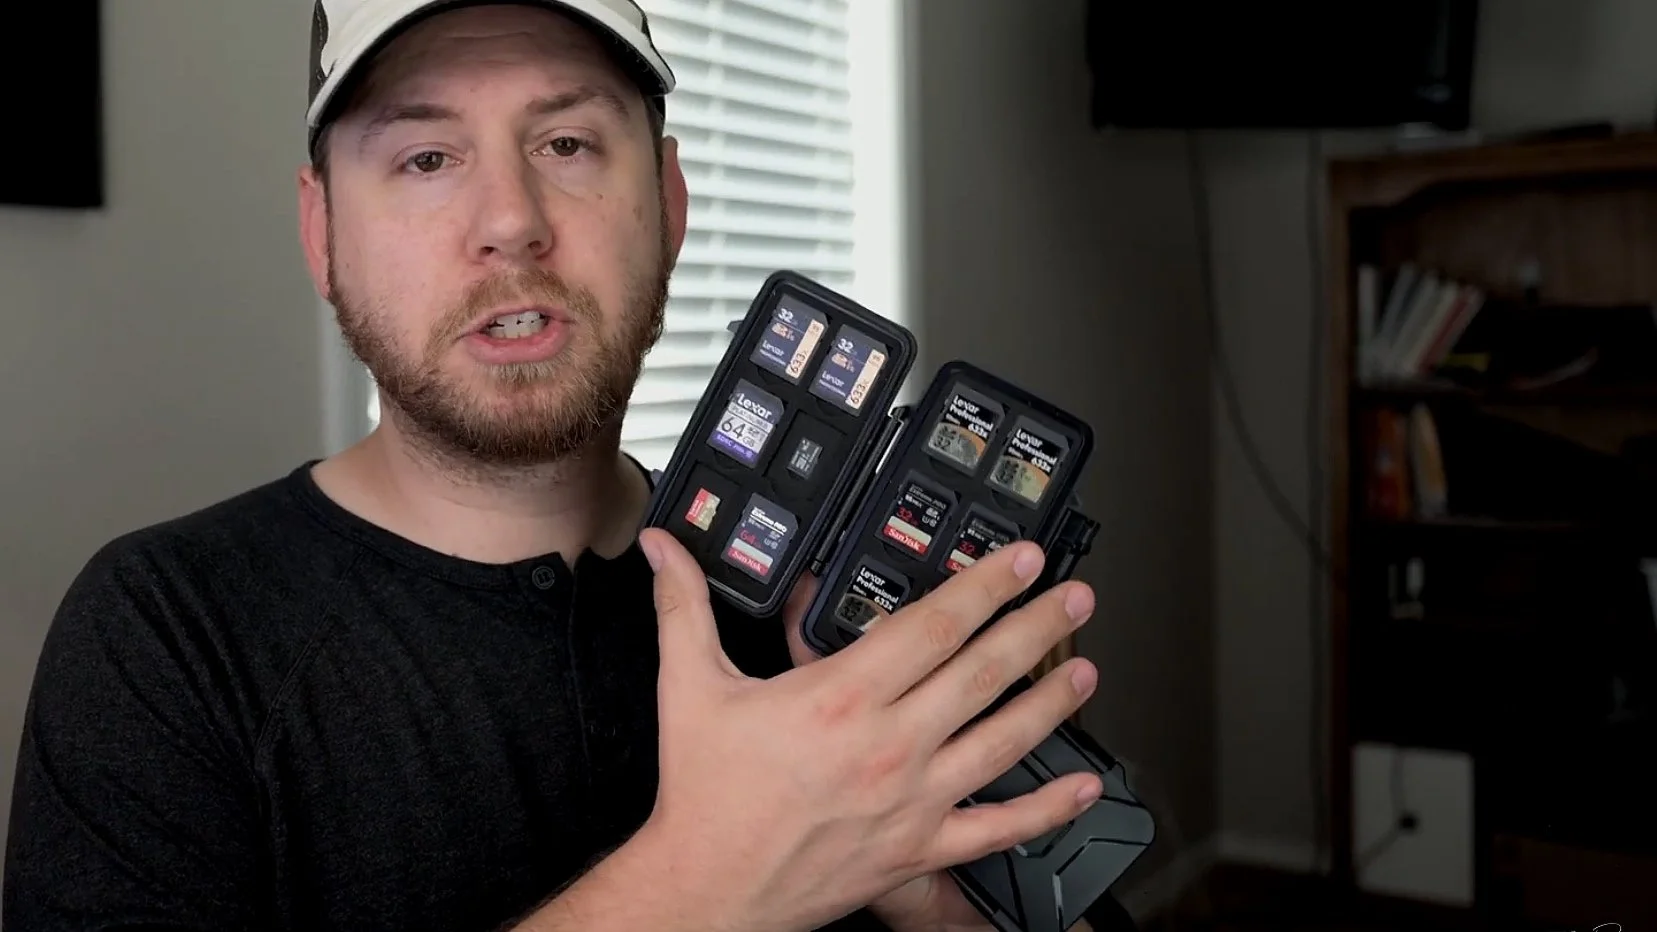
Keep a memory card case on you with spare memory cards inside.
It would be embarrassing to show up to a photo shoot or event without your memory cards. You won’t like having to tell your clients that you forgot to put them in your bag or in your camera. Always have backups and plan ahead.
Tip #6: Sync Your Cameras

If you are shooting an event and using two or more cameras, always remember to sync the camera’s dates, time, and time zones before shooting. This will help keep all of your files in chronological order when you get them in the computer later on. Be especially mindful when traveling for an event, shoot, or trip and whether you are taking all of your cameras or just one, keep them synced before shooting.

Select “Time zone and date” to make necessary adjustments if/when you arrive in a new time zone area during travel.

Make necessary adjustments to the day and time if you are traveling for a shoot.
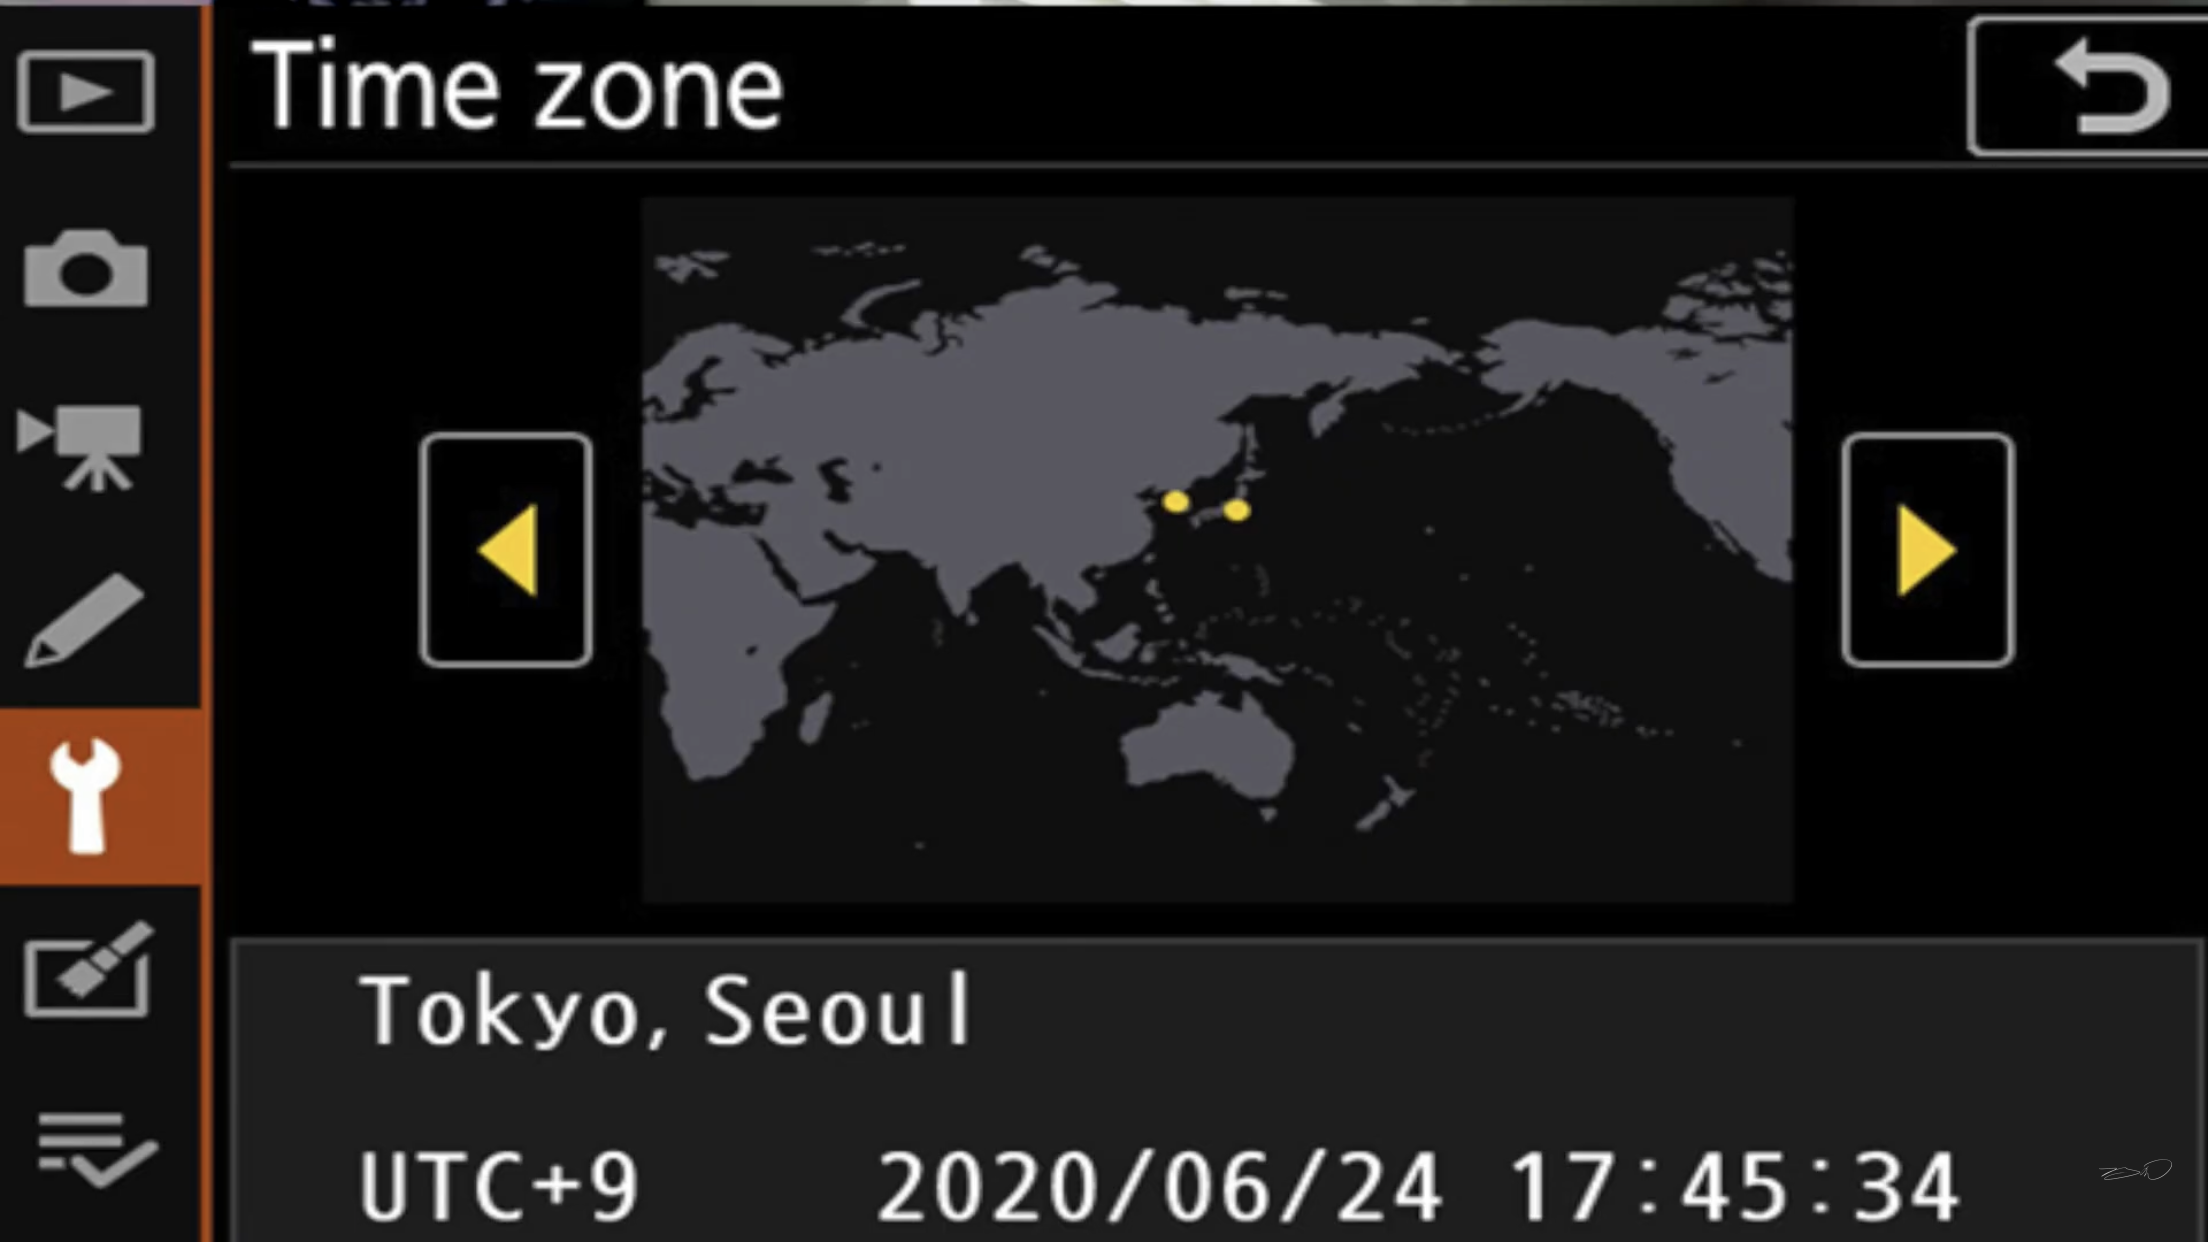
Choose the correct time zone you are in if making any log distance traveling for your event or photo shoot.
I hope these tips were helpful and if they were please click the “Like” button and leave us a comment with what you found most interesting. If you think someone else could benefit from this too please share it with others as well.
Check back for other videos and posts related to photography basics and tips.
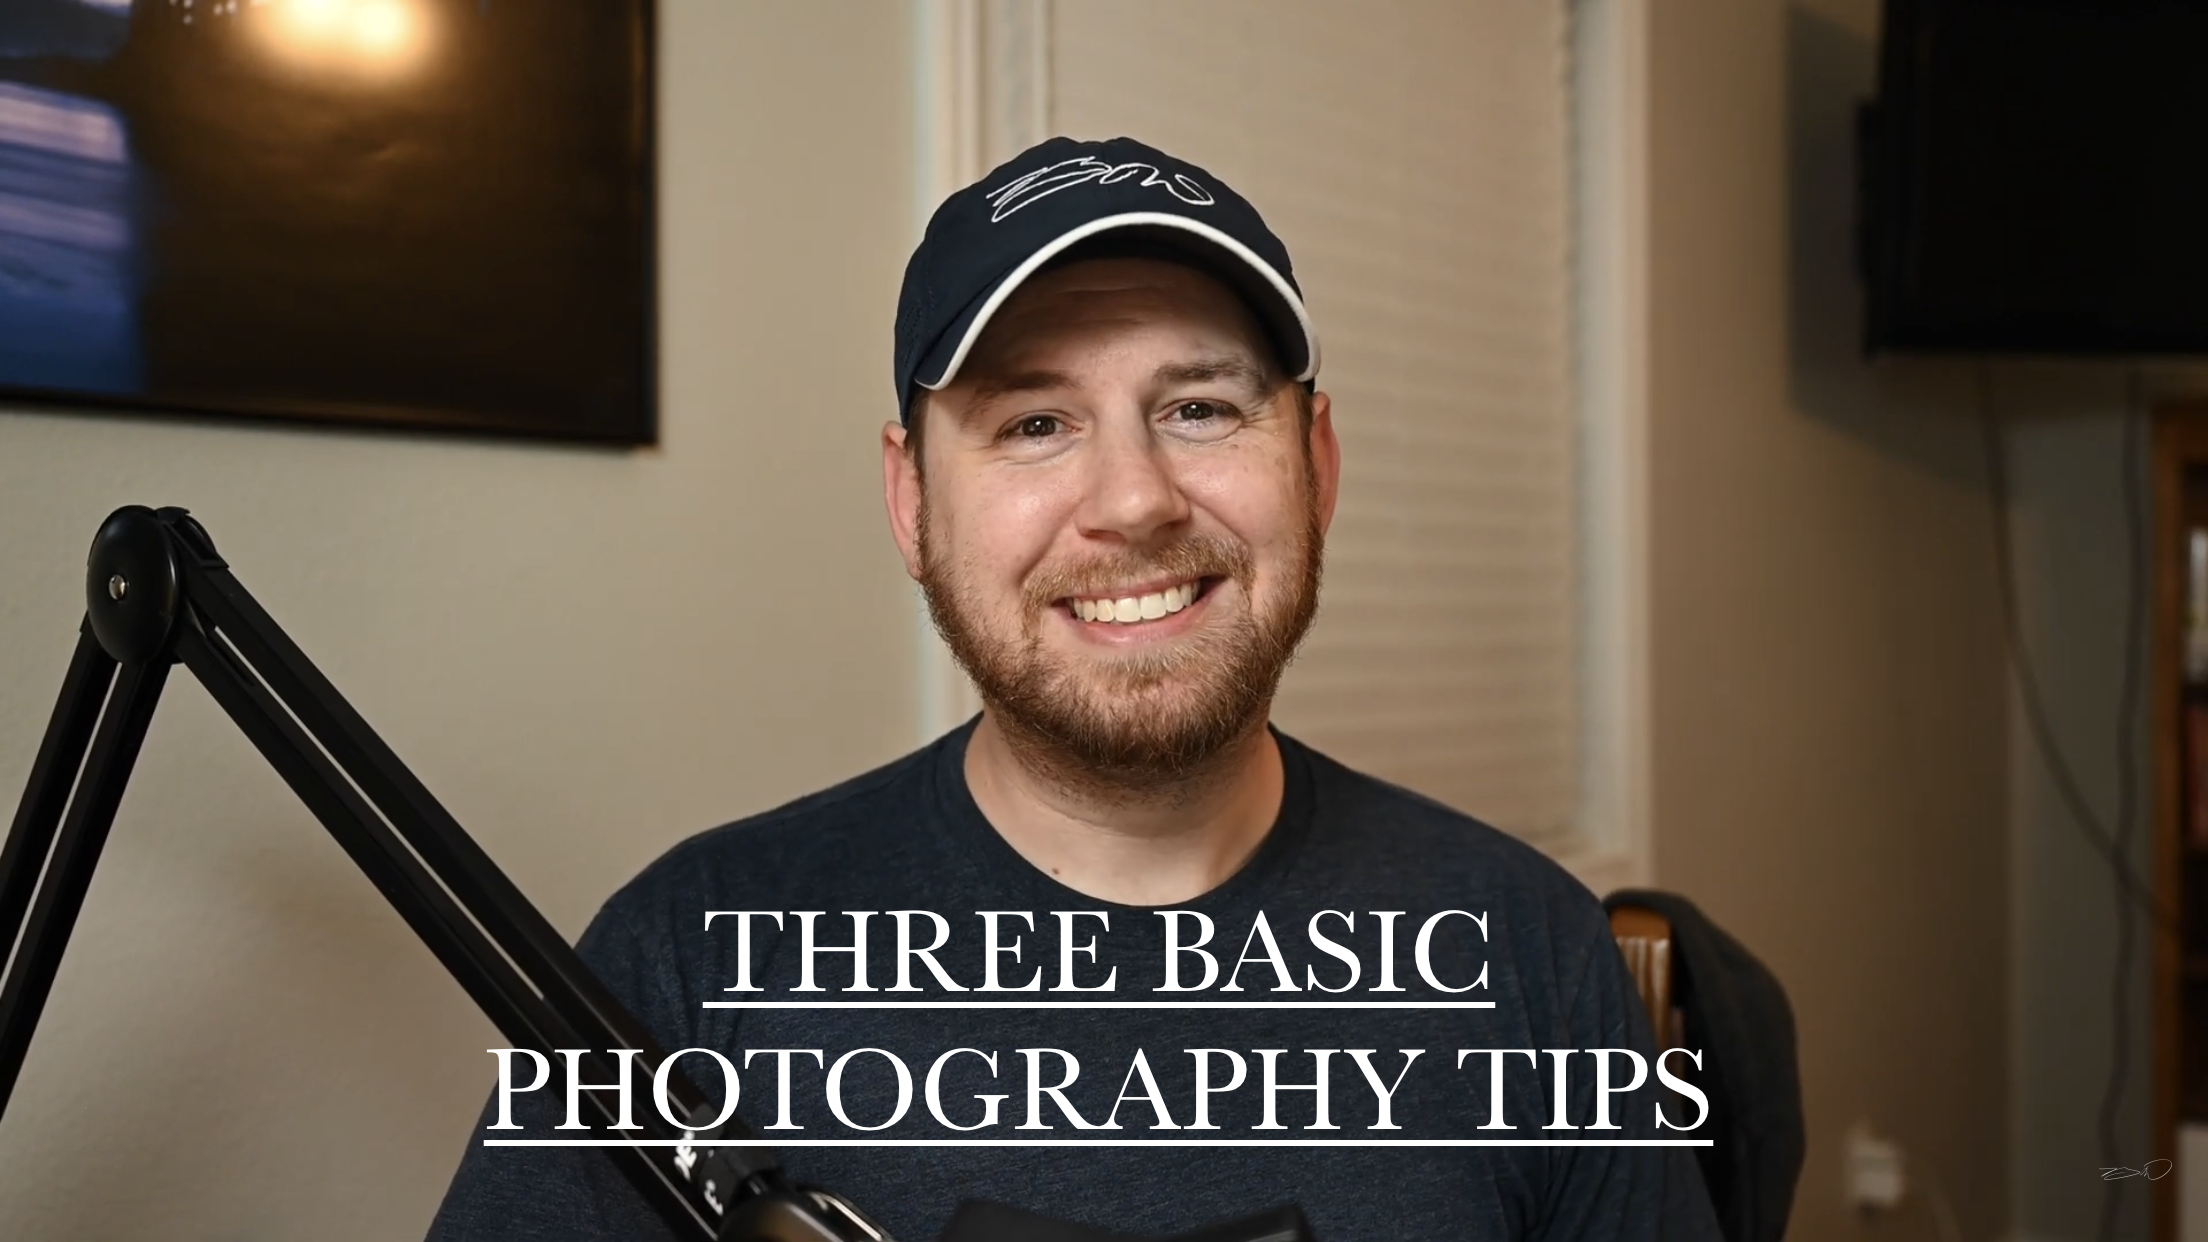
Basic Photography Tips | Part 1
Three Basic Photography Tips for beginners. I share a few tips about what I do before or while in the field shooting.
Basic Photography Tips | Part 1
Starting your photography journey with these three basic tips will already improve your photography and help make you look like a professional in no time. These will help you save time on tedious editing while keeping your gear clean, show you how to safely change lenses in the field, and take your camera holding techniques from looking basic and beginner to looking like a pro.
TIP #1: CLEAN YOUR LENS BEFORE SHOOTING!
When your lens gets dirty or has collected dust, pickup an inexpensive little product like this air rocket with a micro fiber cloth to clear away lose dirt, dust, and oily spots. Don’t just blow on it because you may be blowing little bits of spit onto the lens which can ruin the protective coating on the glass if left on it. When cleaning the camera’s sensor, it’s always best to have your camera manufacturer do the cleaning or an authorized dealer/service instead of doing it yourself.
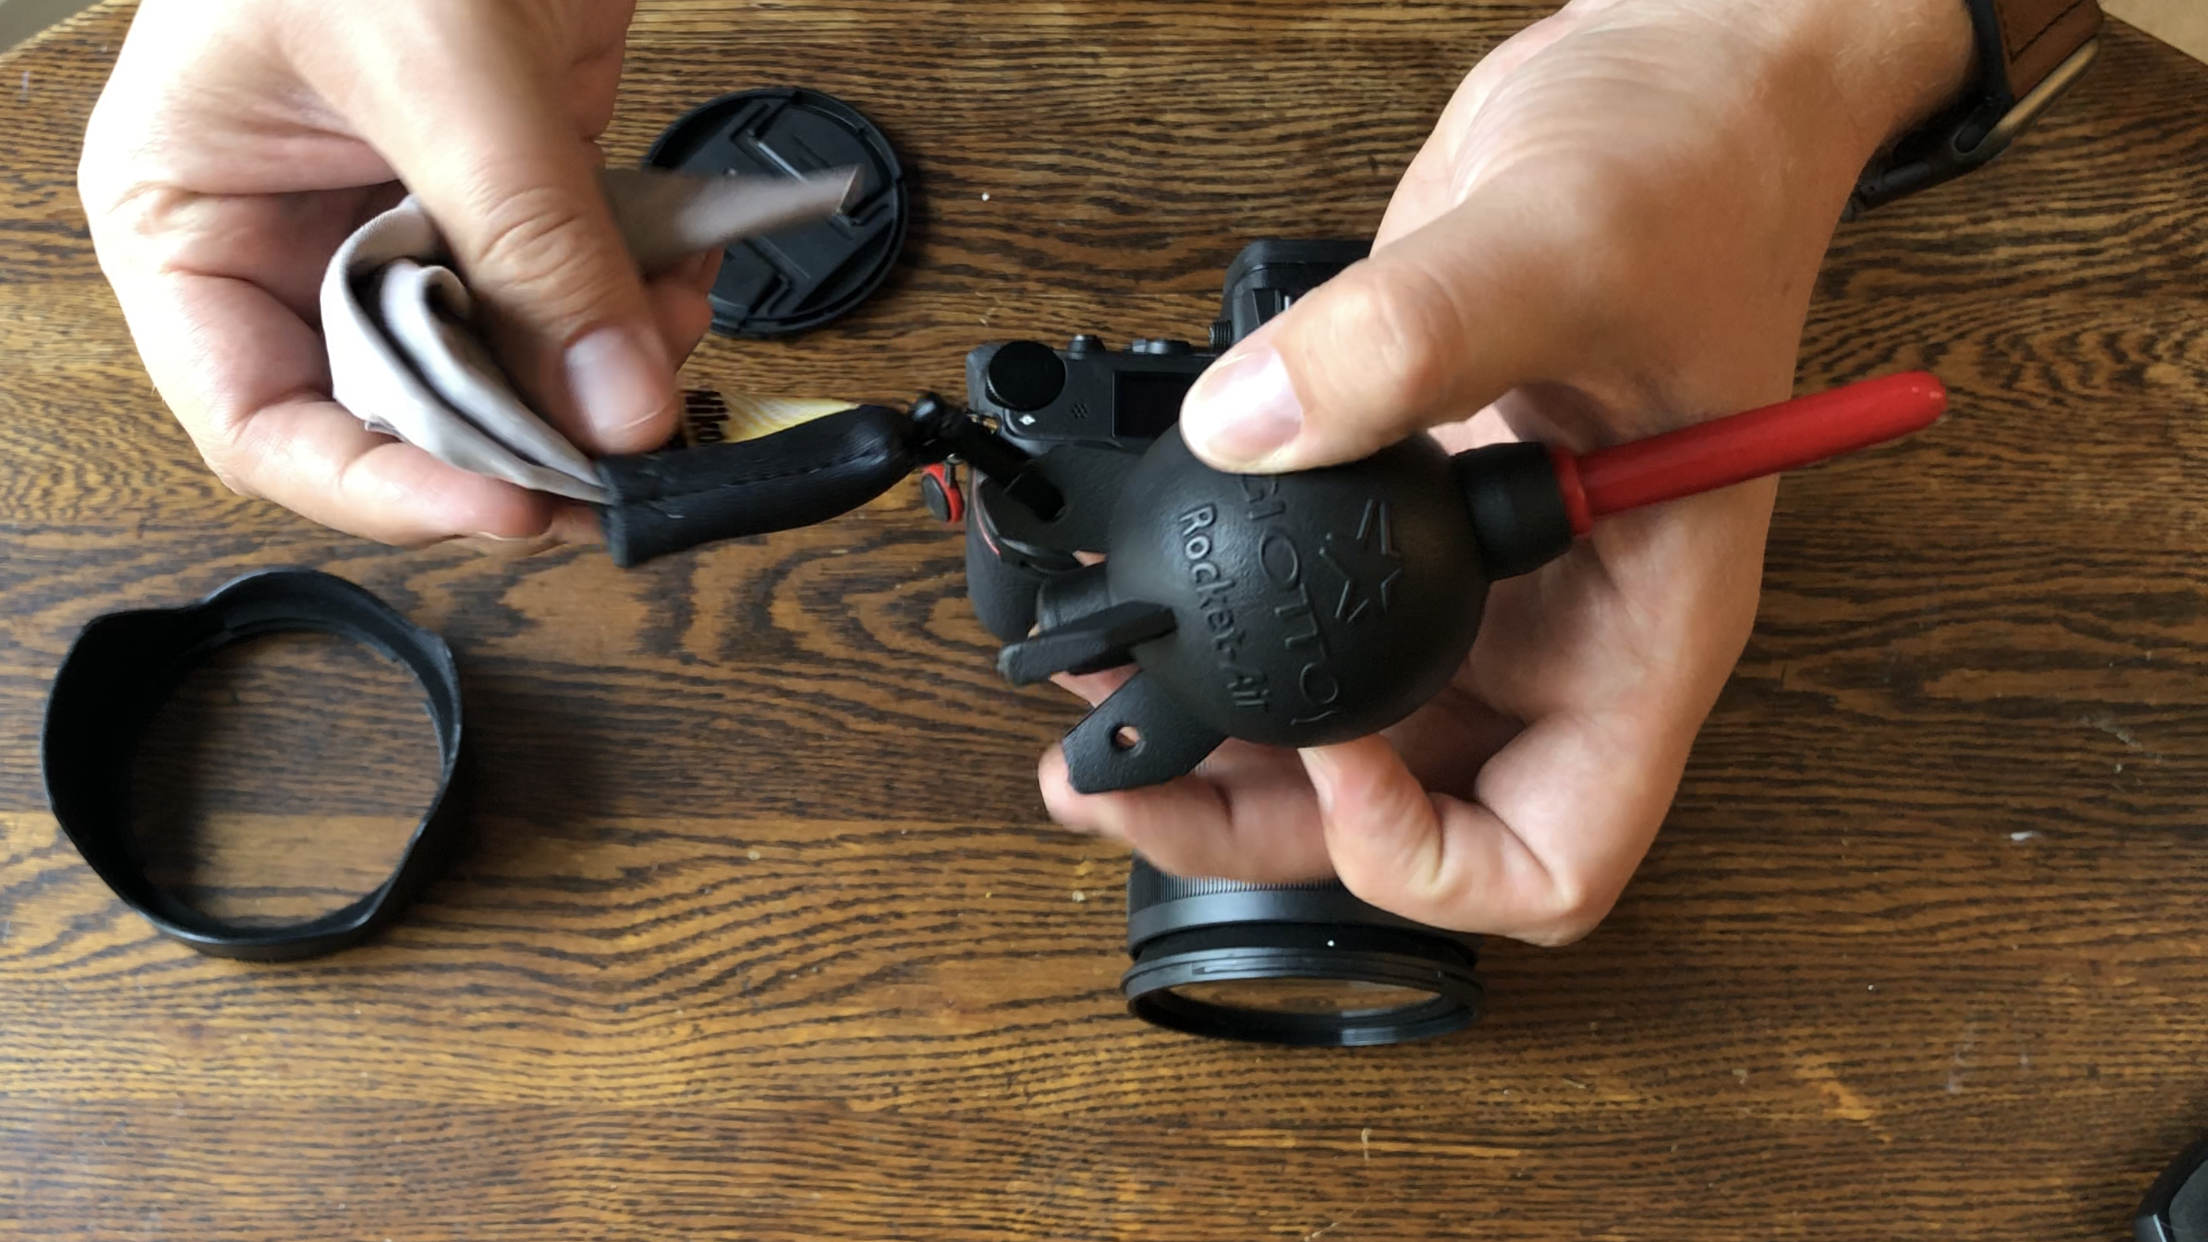
Giottos Rocket Air Blaster
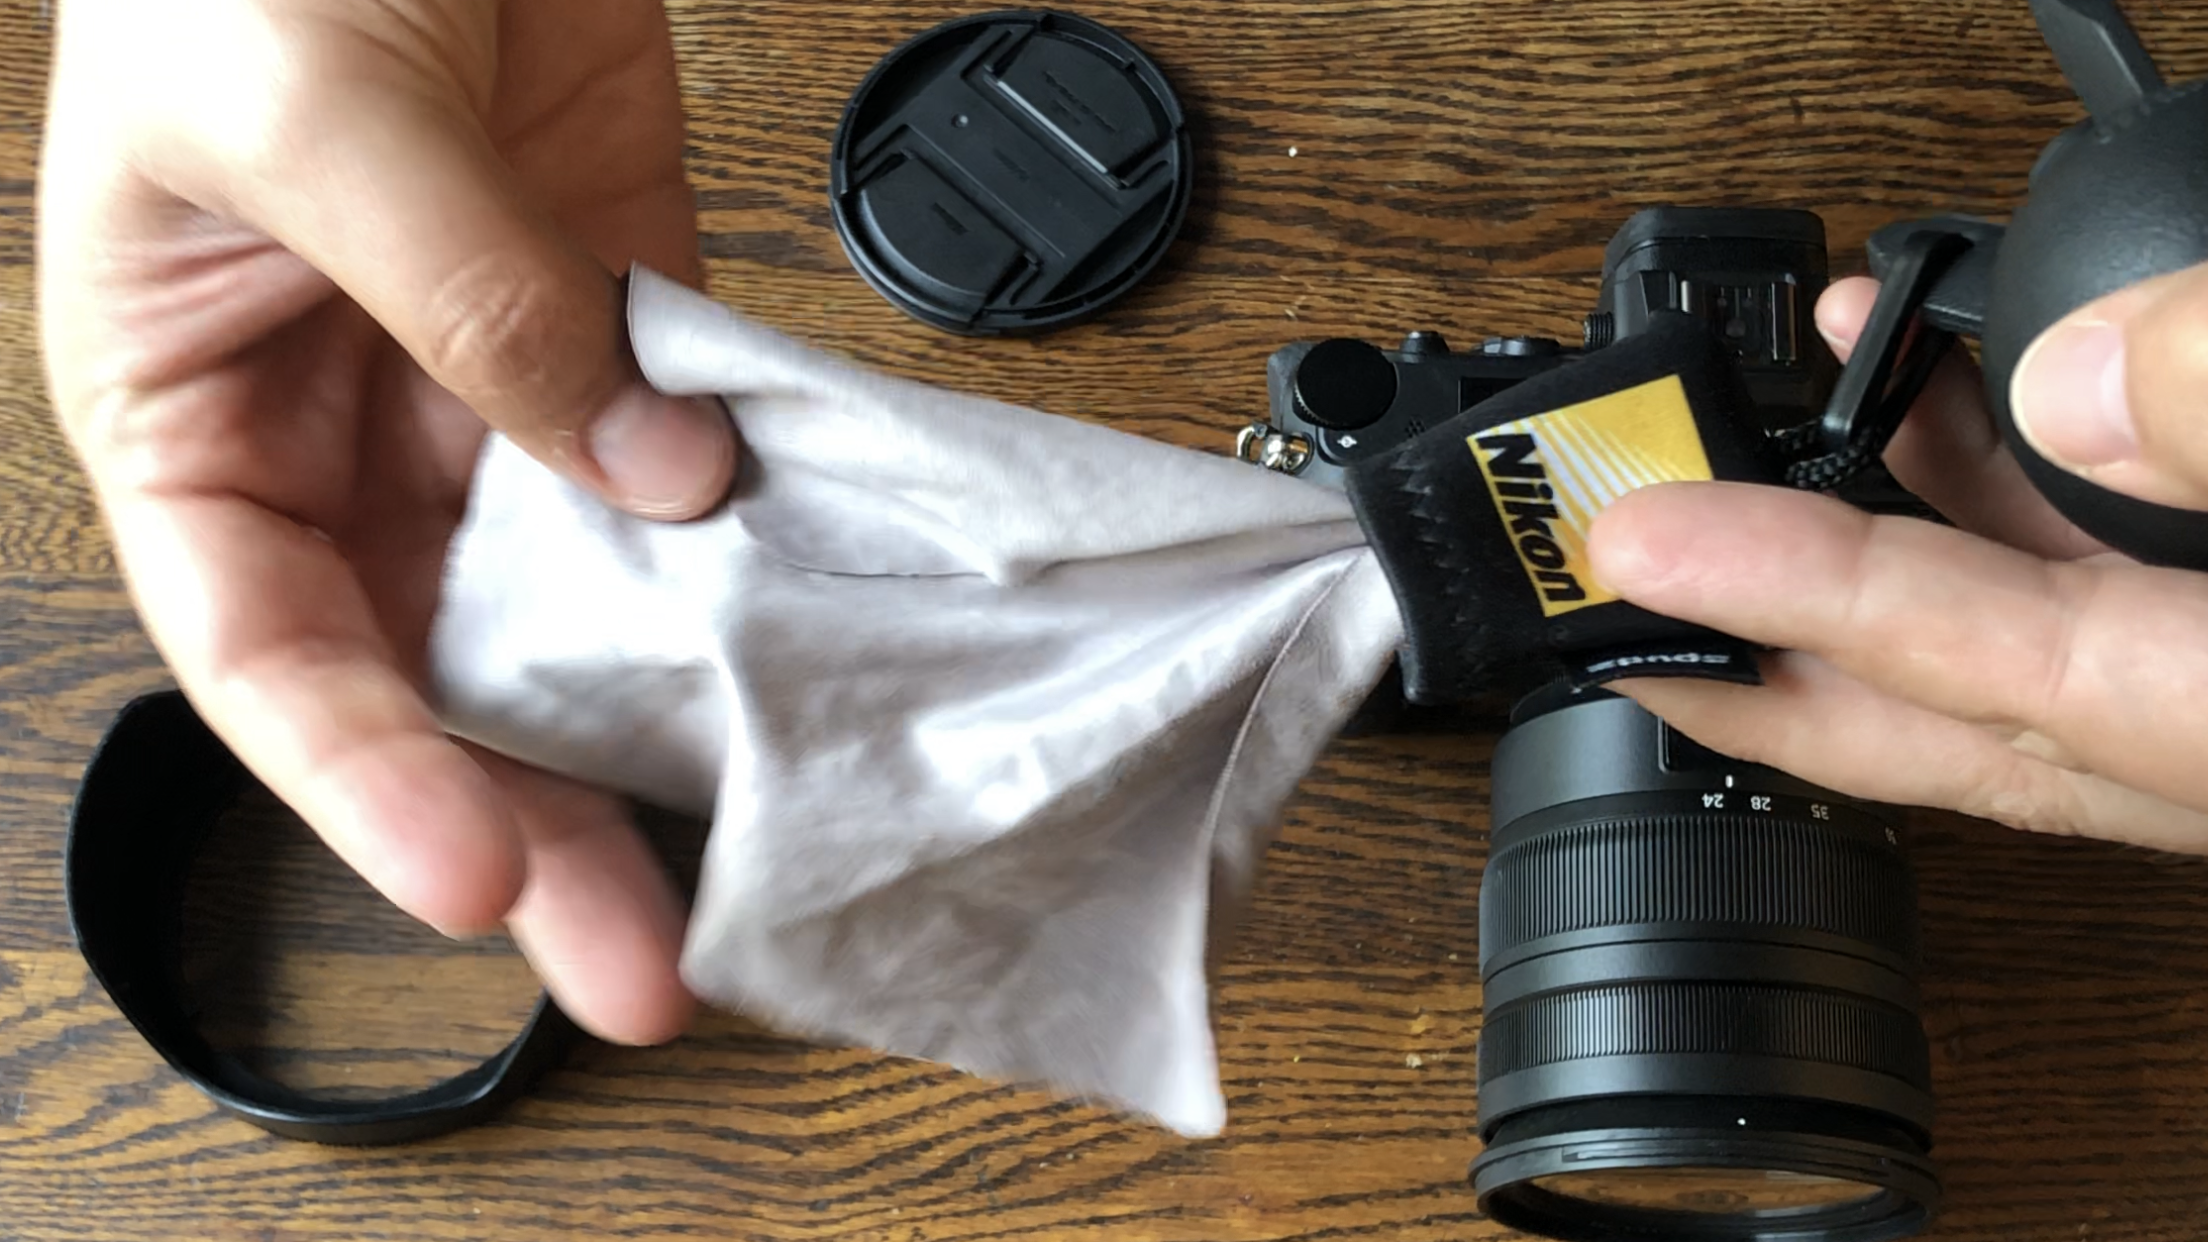
Use a micro-fiber cloth when wiping away oily fingerprints, dirt, and stubborn dust.
TIP #2: KEEP CAMERA FACING DOWN WHEN SWITCHING LENSES!
When changing your lens, always point the camera body face down to help prevent dust, dirt, or water from falling onto the sensor. Then have your new lens’ backcap already taken off and ready to attach to the camera, while putting the same backcap onto the old lens.

Point the camera down with the front lens cap on.
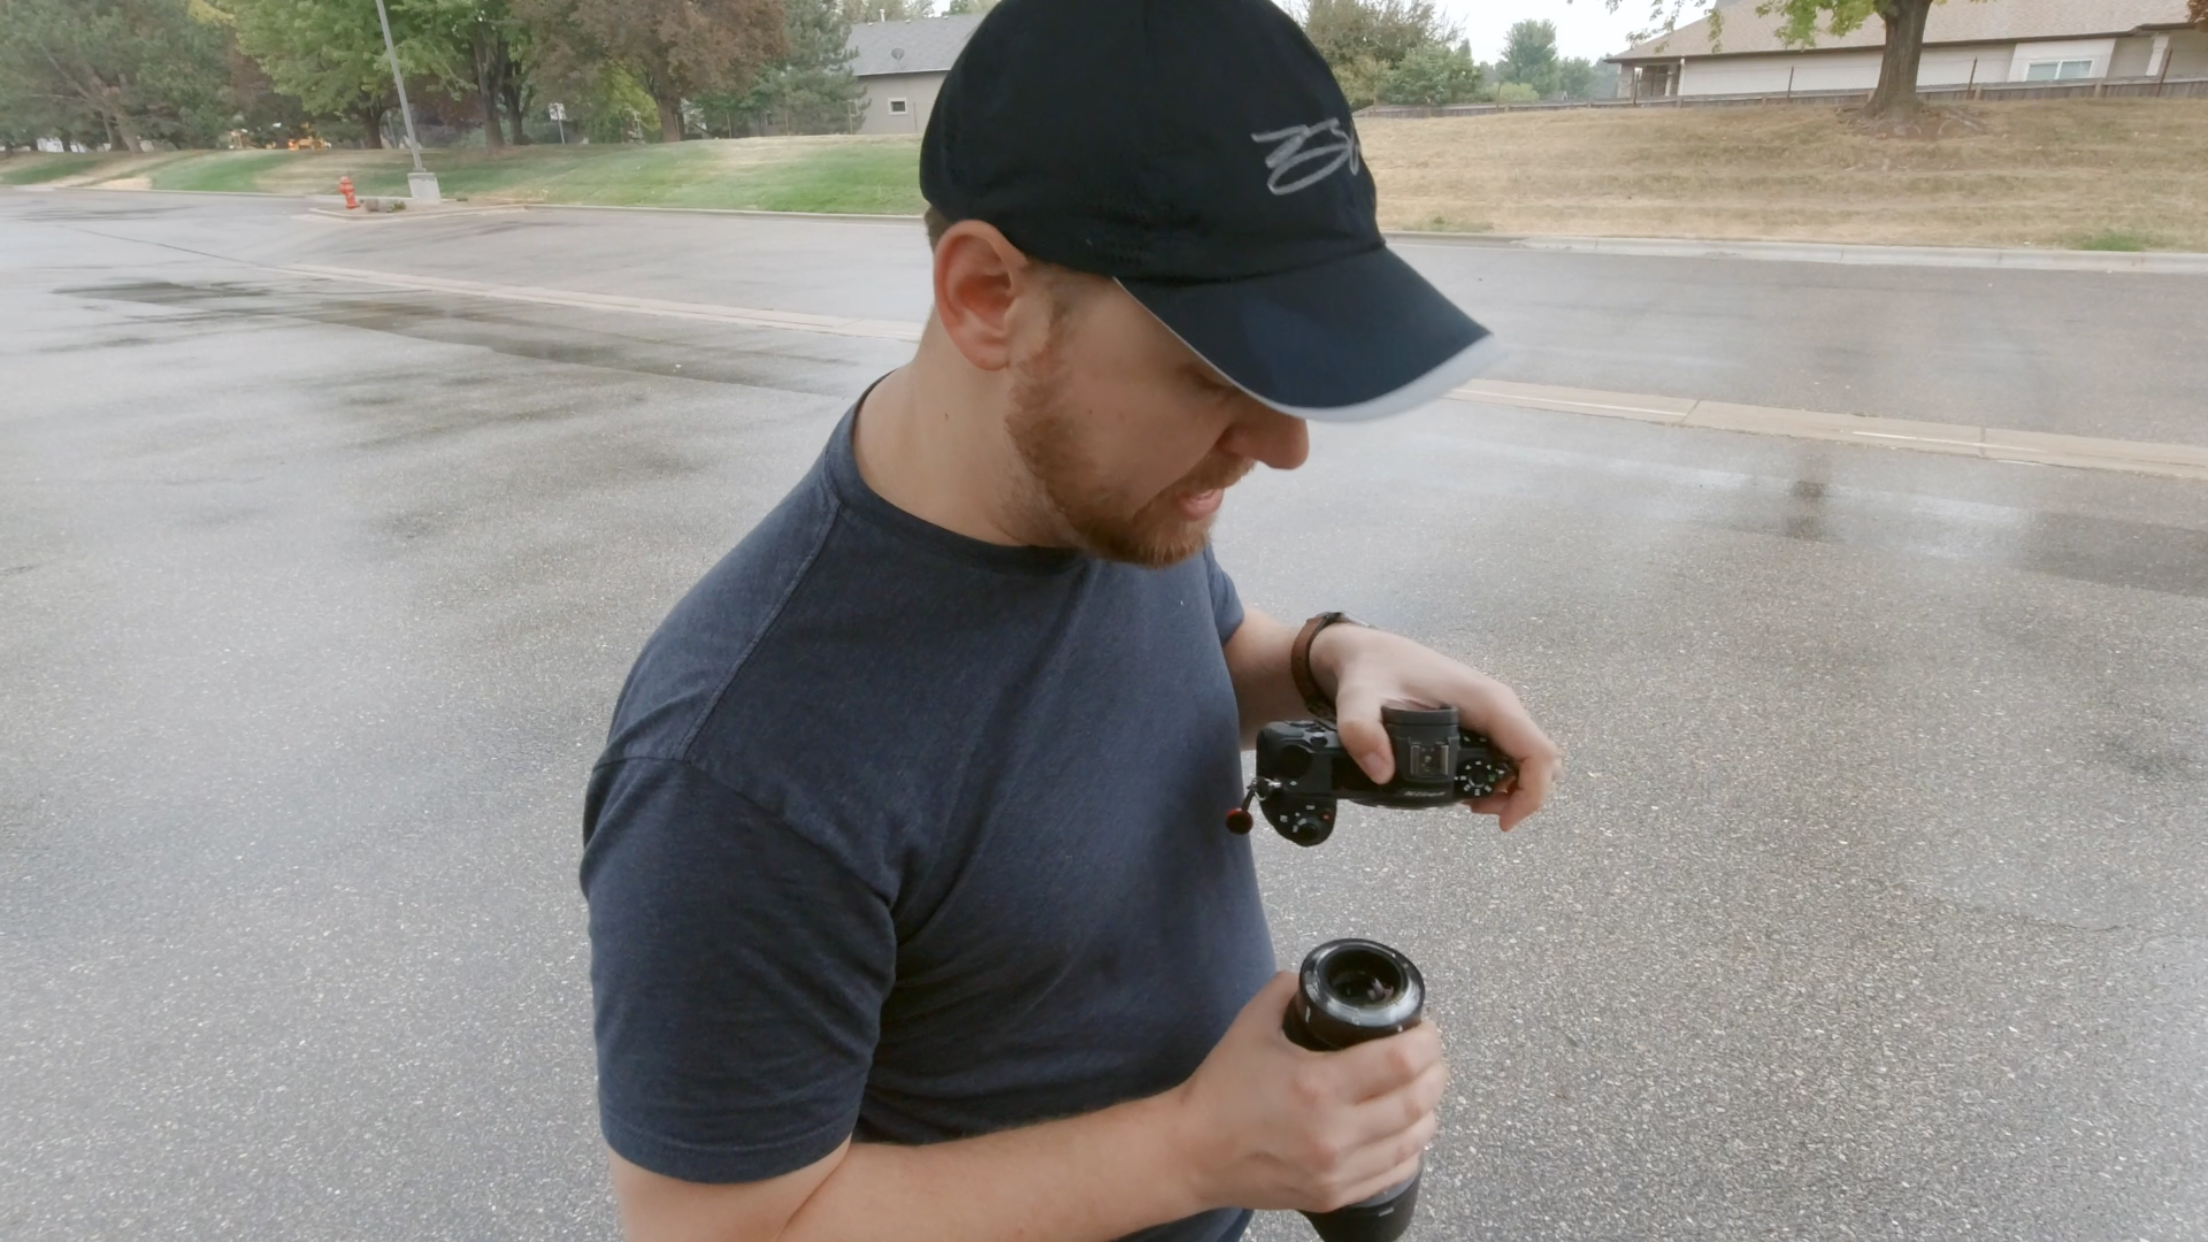
Then remove the lens off the camera body to begin the swap.
Then point the back of the lens down and place it’s rear cap on before swapping out the new lens.
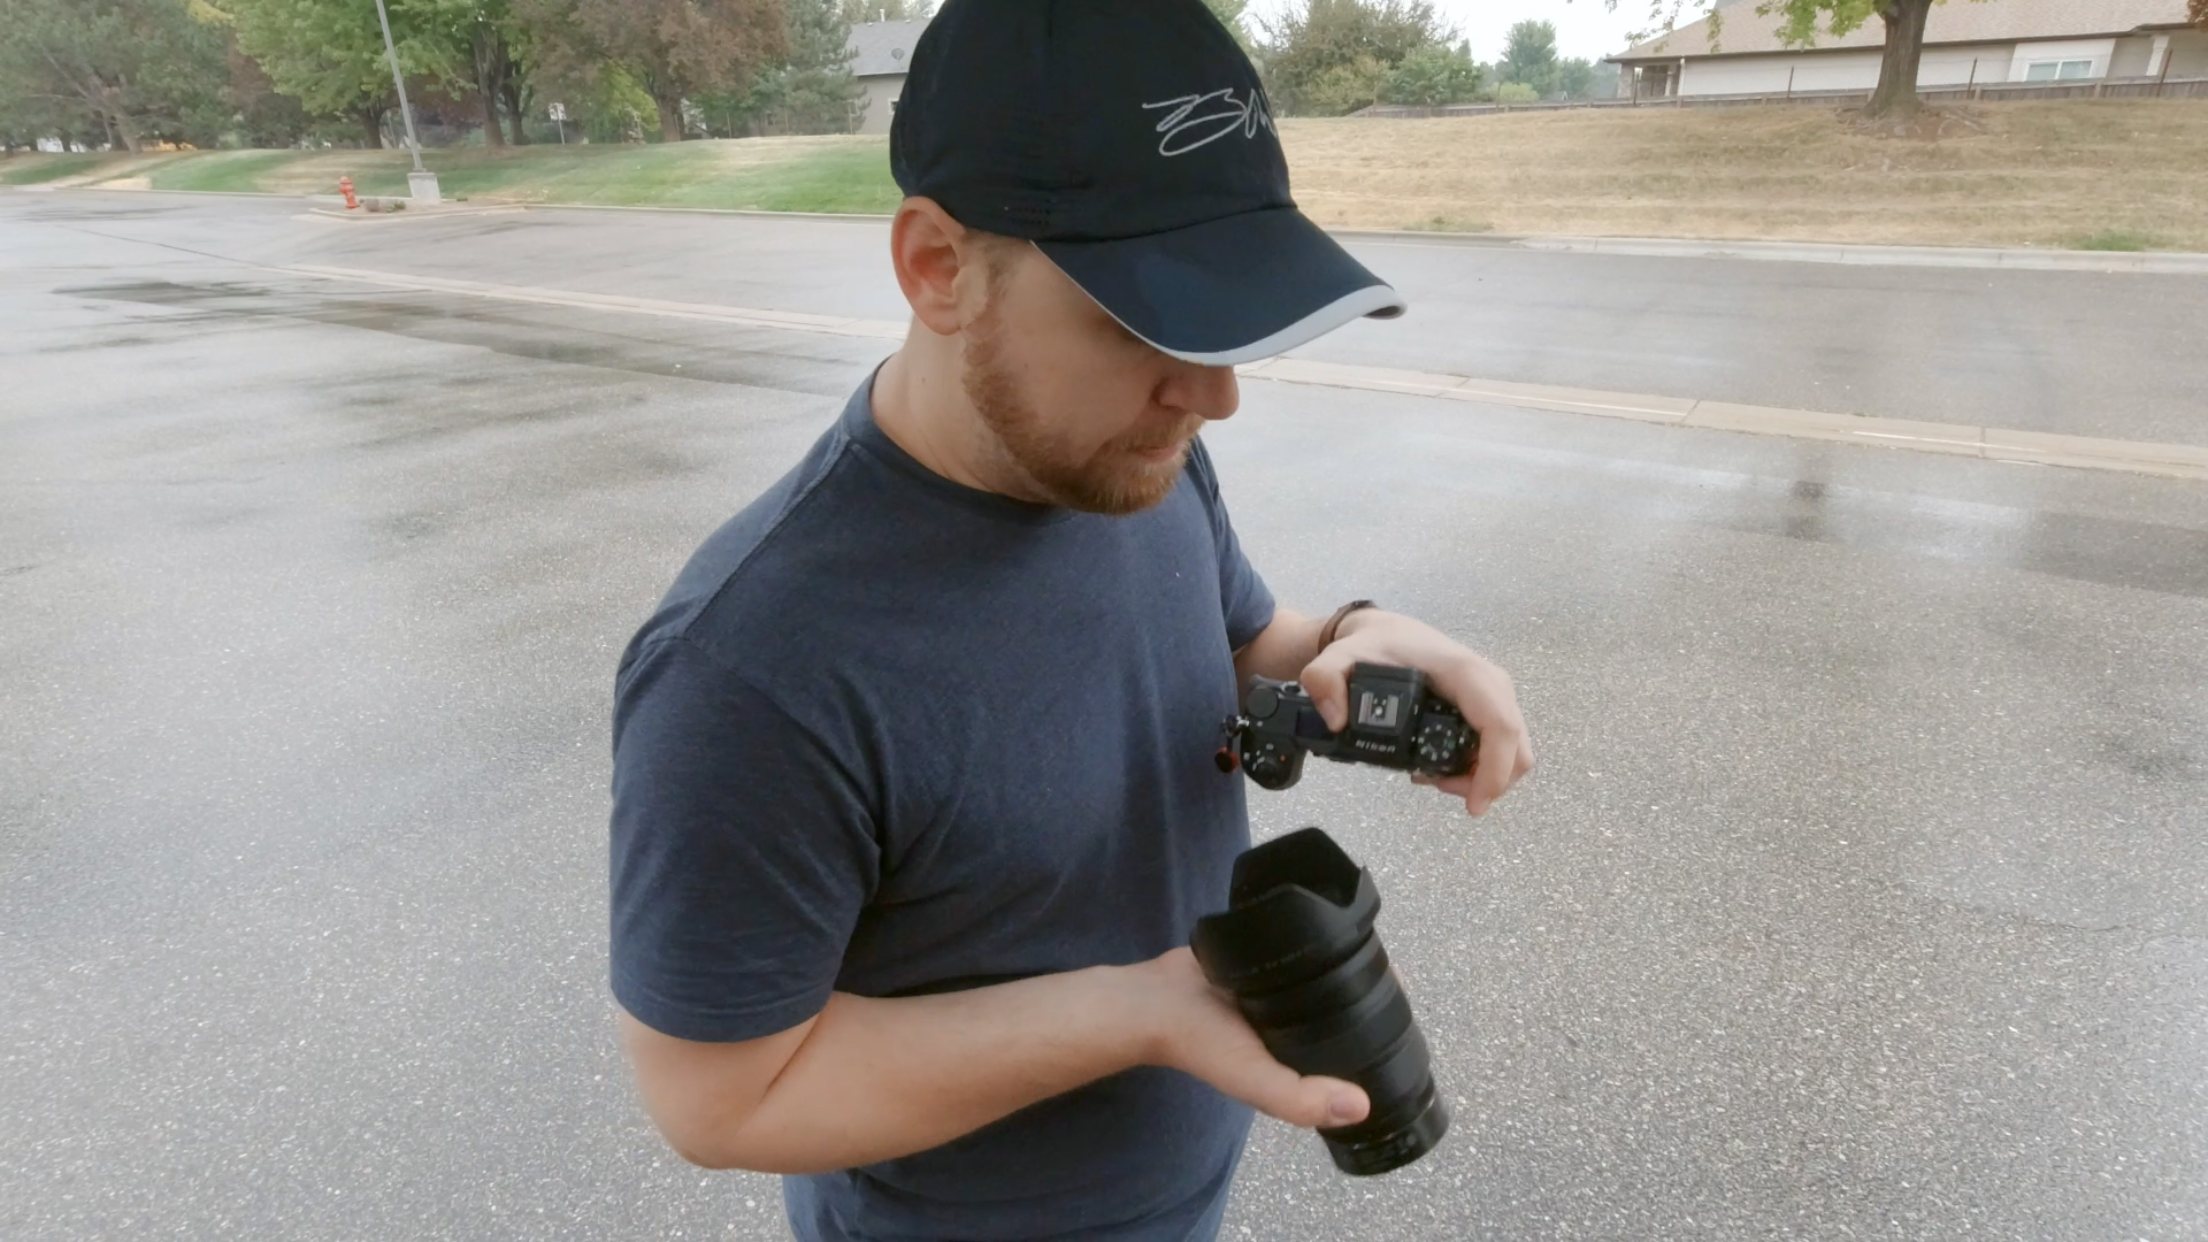
TIP #3: THREE POINTS OF CONTACT!
When holding your camera, it’s best to have three points of contact for greater stability. One point of contact with the hand that holds the camera, the second point of contact is the other hand that rests under the lens (not on top or to the side! You have better stability under the lens because gravity wants to have the lens fall down), and your third point of contact is the eye against the camera. Also have your elbows pushed closer together tucked into your body acting like a tripod. When putting all of these together you maximize your stability greatly and increase your chance for sharper handheld images with less camera shake which causes softer/blurry looking photos.

The three points of contact when holding your camera. Look less basic and more professional.
That’s it! Those are a few of my quick tips to help improve your photography. Take them with you and make it a habit to remember to do these things before and during a shoot. Then before you know it you will become and look more like a professional photographer.
Don’t forget to join the new Facebook community I started to learn even more.
Photography Blog
I hope this blog serves you well. I share photography basics content on here along with other helpful posts and resources to improve your photography as a beginner. Be sure to let me know if any of these posts have helped you out and be sure to share your favorites. I want to help you in your new photography journey so don’t be a stranger and reach out.


